NFT Frontend Application
This guide explains how to create a React application and connect it to an extended NFT smart contract running in the blockchain.
Preparation
-
First install one of the templates. Install NodeJs and NPM. Make sure the latest LTS version of the NodeJs is installed.
-
Then install dependencies:
yarn install
-
There is an
.env.examplefile. Create your own.envfile and copy the contents of.env.exampleto your.envfile. It contains the following variables:VITE_NODE_ADDRESS: This variable defines the node we'll be working on.
You have to add next varibles as well:
VITE_CONTRACT_ADDRESS: The address of the contract uploaded to the chain.VITE_IPFS_ADDRESSandVITE_IPFS_GATEWAY_ADDRESS: These variables are needed when uploading and reading media files to IPFS
An example of environment variables is shown below:
VITE_NODE_ADDRESS=wss://testnet.vara.network
VITE_CONTRACT_ADDRESS=0x3d3d0b5c597d6d767294cc93e0a3489d848ae32cbf851fa40756800d28e4cd37
VITE_IPFS_ADDRESS=http://localhost:5001/api/v0
VITE_IPFS_GATEWAY_ADDRESS=https://ipfs.io/ipfs
- In a root
consts.tsfile, specify newly added environment variables:
const ADDRESS = {
  NODE: import.meta.env.VITE_NODE_ADDRESS as string,
  CONTRACT_ADDRESS: import.meta.env.VITE_CONTRACT_ADDRESS as `0x${string}`,
  IPFS_ADDRESS: import.meta.env.VITE_IPFS_ADDRESS as string,
  IPFS_GATEWAY_ADDRESS: import.meta.env.VITE_IPFS_GATEWAY_ADDRESS as string,
};
- Install
kubo-rpc-clientlibrary to handle IPFS requests:
yarn add kubo-rpc-client
Next, create a context to integrate IPFS in a React-friendly way. In the context folder, create a file named index.tsx and add the following code:
import { create, KuboRPCClient } from "kubo-rpc-client";
import { createContext, ReactNode, useContext, useRef } from "react";
import { ADDRESS } from "@/consts";

type Props = {
  children: ReactNode;
};

const IPFSContext = createContext({} as KuboRPCClient);

function IPFSProvider({ children }: Props) {
  const ipfsRef = useRef(create({ url: ADDRESS.IPFS_ADDRESS }));
  const { Provider } = IPFSContext;

  return <Provider value={ipfsRef.current}>{children}</Provider>;
}

const useIPFS = () => useContext(IPFSContext);

export { IPFSProvider, useIPFS };
Include IPFSProvider in the providers array in the hocs/index.tsx file:
import { IPFSProvider } from '@/context';

const providers = [..., IPFSProvider];
- Build and upload the contract to the chain and set up the address in the
.envfile.
Place the extended_vnft.idl file in the api/sails folder and run sails-cli command:
npx sails-js-cli generate src/api/sails/extended_vnft.idl -o src/api/sails --no-project
Check the newly created lib.ts file and add the following two lines at the top:
/* eslint-disable @typescript-eslint/no-floating-promises */
/* eslint-disable @typescript-eslint/no-explicit-any */
- Run the application:
yarn start
- The main file
App.tsxis simple.
It checks whether the application is connected to the chain:
const { isApiReady } = useApi();
It checks whether the account is connected to the application through the web extension:
const { isAccountReady } = useAccount();
- If the
apiis ready and theaccountis connected, it displays the application's pages. Navigate to the pages folder. The project has only one pageHome. The routing configuration is located in thepages/index.tsxfile.
Create-NFT page
- Create a page for NFT creation using the code below:
mkdir src/pages/create-nft
touch src/pages/create-nft/CreateNft.tsx
- Start writing the
CreateNft.tsx:
export function CreateNft() {
  return <div>Create NFT</div>;
}
- Declare this page in the
index.tsxfile and also add the route for it:
import { CreateNft } from "./create-nft/CreateNft";

const routes = [
  { path: "/", Page: Home },
  { path: "/create-nft", Page: CreateNft },
];
- Create a link to the
CreateNftpage from theHeadercomponent. In thesrc\components\layout\header\Header.tsxfile, write:
import { Link } from "react-router-dom";
...

function Header() {
  return (
    <header className={styles.header}>
      <Logo />
      <Link to="/create-nft">
        <h3>Create NFT</h3>
      </Link>
      ...
    </header>
  );
}

export { Header };
- Go back to the
CreateNftpage. Create a form that includes the NFTtitle,description, andimage:
import { Button, FileInput, Input } from "@gear-js/ui";

export function CreateNft() {
  return (
    <>
      <h2>Create NFT</h2>
      <div>
        <form>
          <Input label="Name" required />
          <Input label="Description" required />
          <FileInput label="Image" required />
          <Button type="submit" text="Create" />
        </form>
      </div>
    </>
  );
}
- Create a state that will store the NFT's title, description, and image, and add the functions
handleInputChangeandhandleImageChangethat will update this state:
import { Button, FileInput, Input } from "@gear-js/ui";
import { useState } from "react";

const NftInitialState = {
  title: "",
  description: "",
};

export function CreateNft() {
  const [nftForm, setNftForm] = useState(NftInitialState);
  const [image, setImage] = useState<File | null>();
  const { title, description } = nftForm;

  const handleInputChange = (e: React.ChangeEvent<HTMLInputElement>) => {
    const { name, value } = e.target;
    setNftForm((prevForm) => ({ ...prevForm, [name]: value }));
  };

  return (
    <>
      <h2>Create NFT</h2>
      <div>
        <form>
          <Input label="Name" required name="title" value={title} onChange={handleInputChange} />
          <Input label="Description" required name="description" value={description} onChange={handleInputChange} />
          <FileInput label="Image" onChange={setImage} />
          <Button type="submit" text="Create" />
        </form>
      </div>
    </>
  );
}
- Add the image preview for the uploaded image:
...
export function CreateNft() {
  ...
  return (
    <>
      <h2>Create NFT</h2>
      <div>
        <form>
          ...
          <FileInput label="Image" onChange={setImage} />
          {image ? (
            <div>
              <img
                src={URL.createObjectURL(image)}
                alt="nft"
                style={{ width: 200, height: 200 }}
              />
            </div>
          ) : (
            <p>No image set for this NFT</p>
          )}
          <Button type="submit" text="Create" />
        </form>
      </div>
    </>
  );
}
Upload image and mint NFT
- Next, upload the image to IPFS and send a
Mintmessage to the contract.
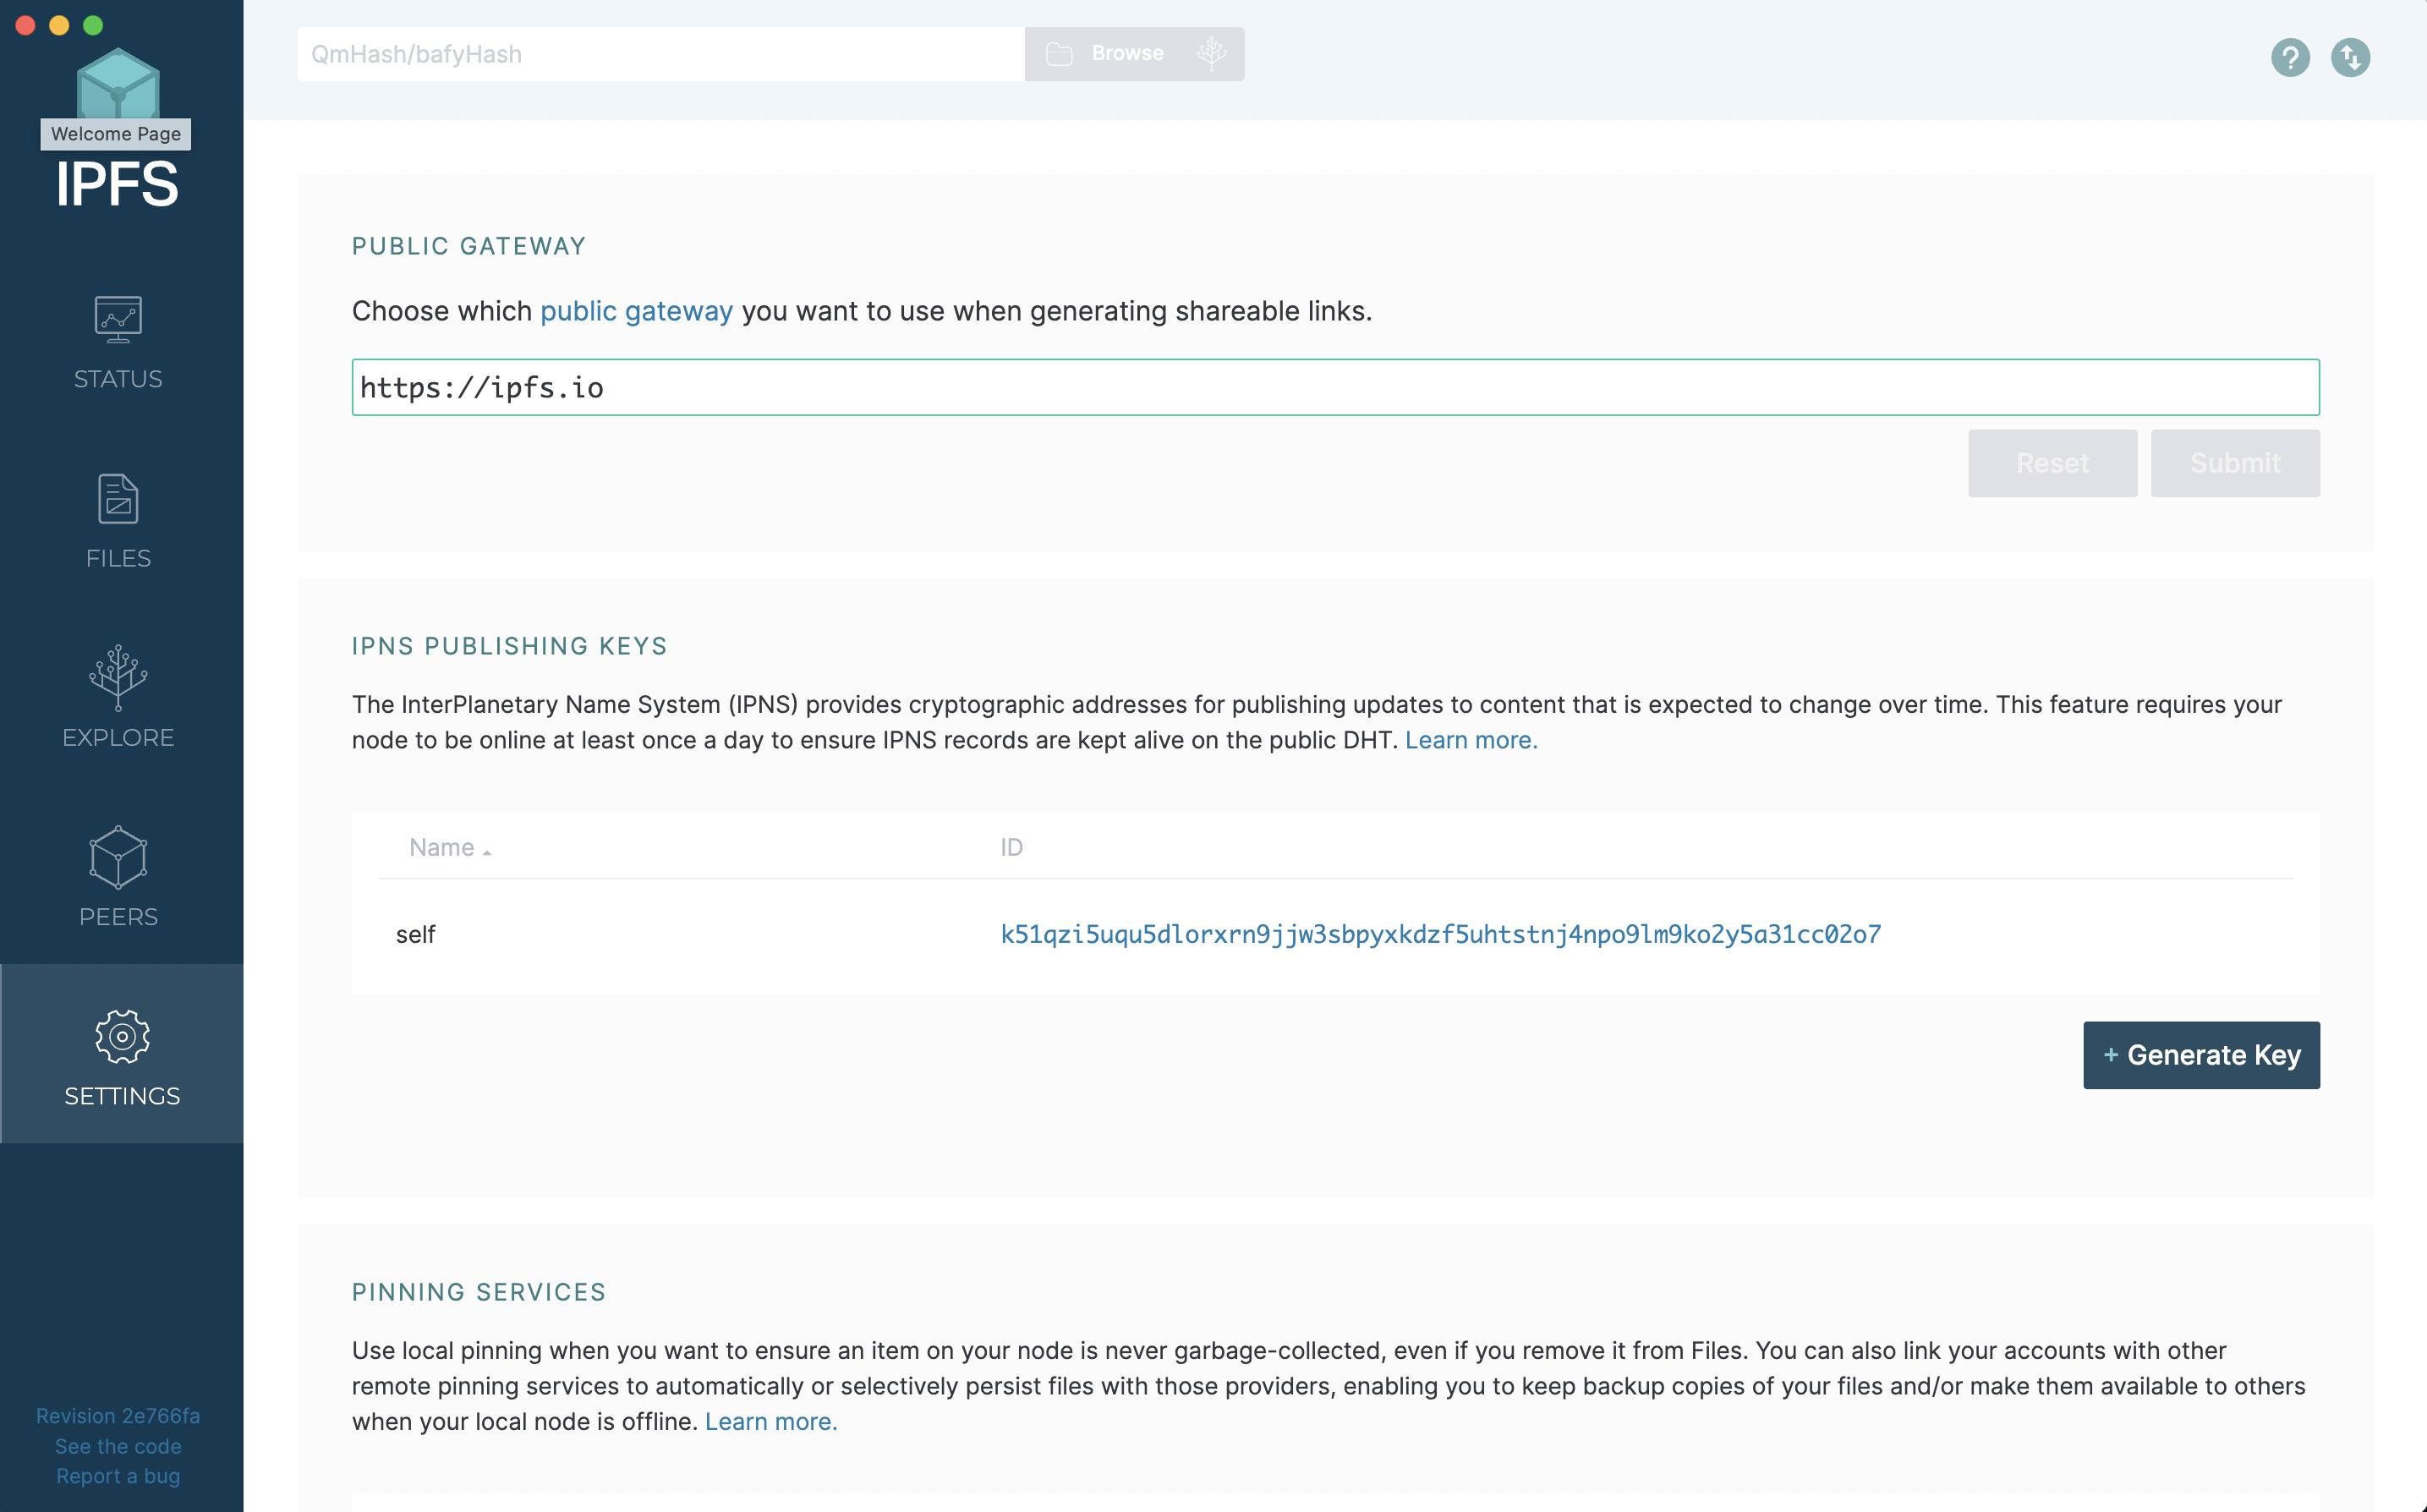
Install the IPFS Desktop App.
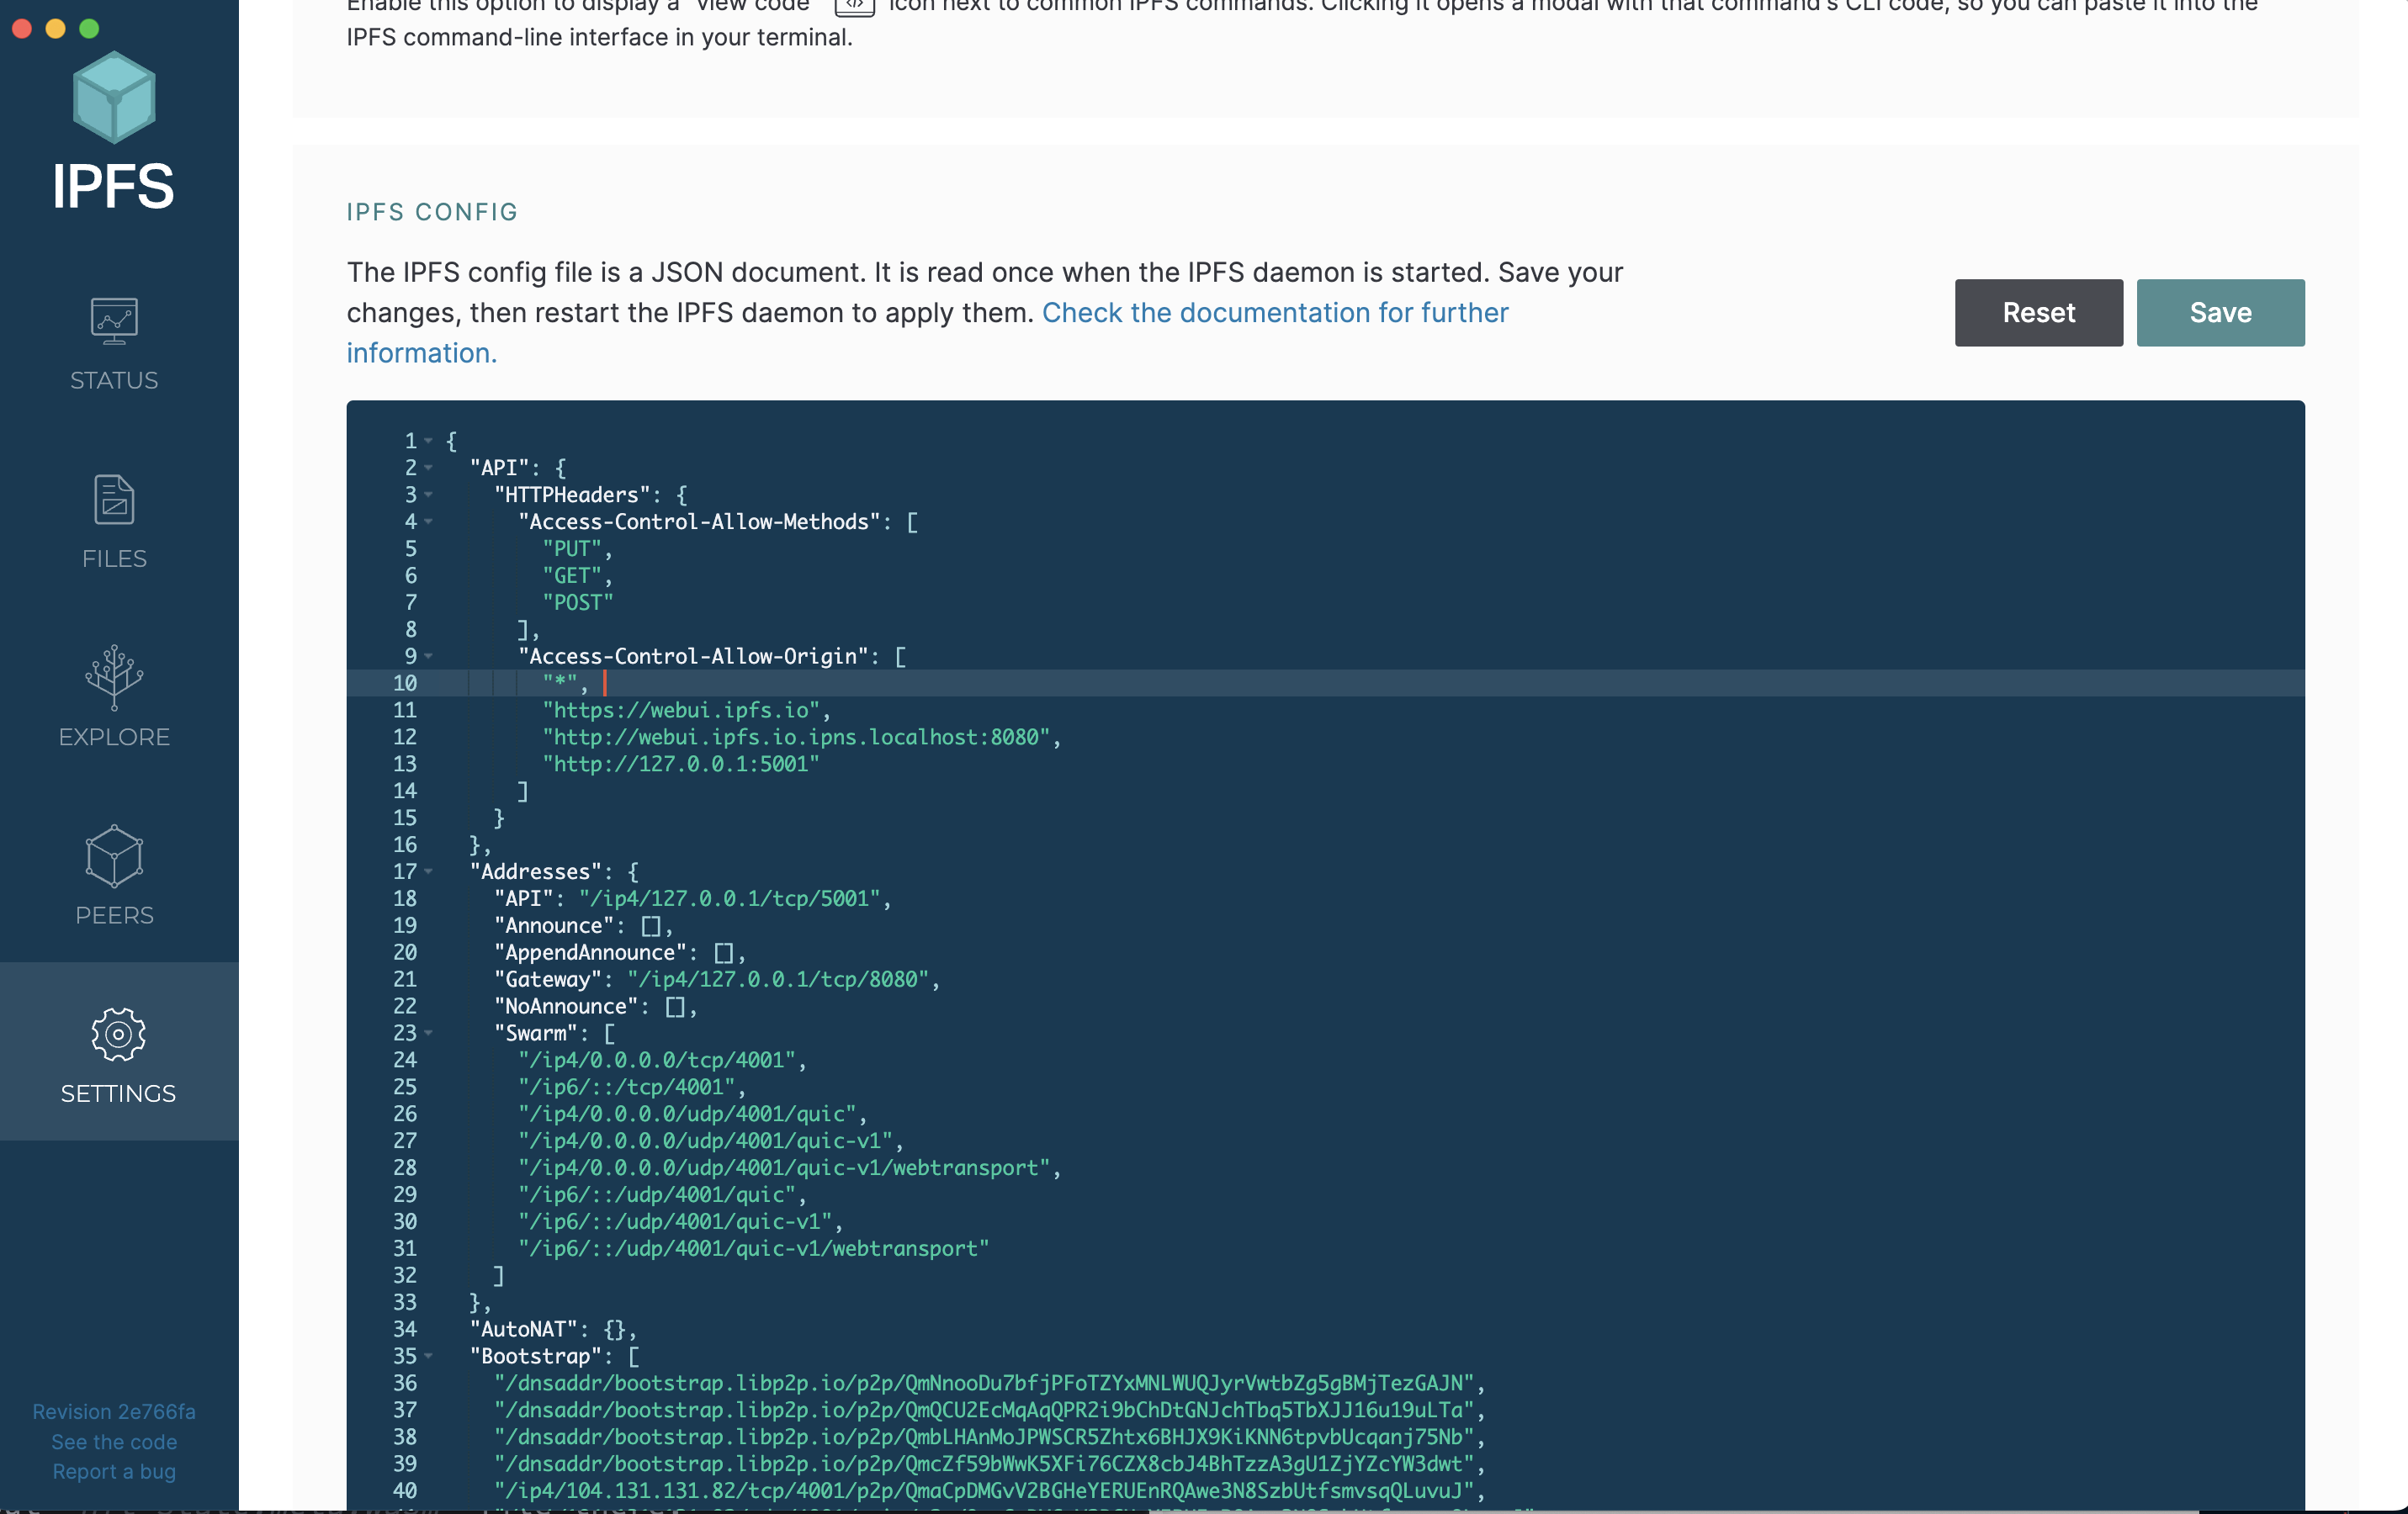
- Navigate to
Settings: Locate
 IPFS config: and configure the
 APIof your node:
"API": {
    "HTTPHeaders": {
        "Access-Control-Allow-Methods": [
            "PUT",
            "GET",
            "POST"
        ],
        "Access-Control-Allow-Origin": [
            "*",
            "https://webui.ipfs.io",
            "http://webui.ipfs.io.ipns.localhost:8080",
            "http://127.0.0.1:5001"
        ]
    }
},
- Now you can upload the files from the application. Start writing the function:
...
import { useIPFS } from "@/context";
...
export function CreateNft() {
  ...
  const ipfs = useIPFS();
  const createNft = async (e: React.FormEvent<HTMLFormElement>) => {
    e.preventDefault();

    if (image) {
      try {
        const cid = await ipfs.add(image);
      } catch (error) {
        console.error(error);
      }
    }
  };
  ...
}
- Continue writing the
createNftfunction. Create thepayloadmessage and send it to the contract. The complete code of theCreateNftpage is as follows:
import { useAccount, useProgram, useSendProgramTransaction } from "@gear-js/react-hooks";
import { Button, FileInput, Input } from "@gear-js/ui";
import { useState } from "react";
import { useNavigate } from "react-router-dom";

import { Program } from "@/api/sails/lib";
import { ADDRESS } from "@/consts";
import { useIPFS } from "@/context";

const NftInitialState = {
  title: "",
  description: "",
};

export function CreateNft() {
  const [nftForm, setNftForm] = useState(NftInitialState);
  const [image, setImage] = useState<File | null>();
  const ipfs = useIPFS();
  const { account } = useAccount();
  const navigate = useNavigate();

  const { data: program } = useProgram({ library: Program, id: ADDRESS.CONTRACT_ADDRESS });
  const { sendTransactionAsync } = useSendProgramTransaction({
    program,
    serviceName: "vnft",
    functionName: "mint",
  });

  const { title, description } = nftForm;

  const resetForm = () => {
    setNftForm(NftInitialState);
    setImage(null);
  };

  const createNft = async (e: React.FormEvent<HTMLFormElement>) => {
    e.preventDefault();
    if (!account?.decodedAddress) return;

    if (image) {
      try {
        const cid = await ipfs.add(image);

        const tokenMetadata = {
          name: title,
          description,
          media: cid?.cid.toString(),
          reference: "",
        };

        await sendTransactionAsync({
          args: [account.decodedAddress, tokenMetadata],
        });

        resetForm();
        navigate("/");
      } catch (error) {
        console.error(error);
      }
    }
  };

  const handleInputChange = (e: React.ChangeEvent<HTMLInputElement>) => {
    const { name, value } = e.target;
    setNftForm((prevForm) => ({ ...prevForm, [name]: value }));
  };

  return (
    <>
      <h2>Create NFT</h2>
      <div>
        <form onSubmit={createNft}>
          <Input label="Name" required name="title" value={title} onChange={handleInputChange} />
          <Input label="Description" required name="description" value={description} onChange={handleInputChange} />
          <FileInput label="Image" onChange={setImage} />
          {image ? (
            <div className="image-preview">
              <img
                src={URL.createObjectURL(image)}
                alt="nft"
                style={{ width: 200, height: 200 }}
              />
            </div>
          ) : (
            <p>No image set for this NFT</p>
          )}
          <Button type="submit" text="Create" />
        </form>
      </div>
    </>
  );
}
The next section covers the creation of the Home page for reading and displaying the minted NFTs.
Home page
- Start writing the
Homepage:
import { useAccount, useProgram, useProgramQuery } from "@gear-js/react-hooks";

import { Program } from "@/api/sails/lib";
import { Loader } from "@/components";
import { ADDRESS } from "@/consts";

function Home() {
  const { account } = useAccount();
  const { data: program } = useProgram({ library: Program, id: ADDRESS.CONTRACT_ADDRESS });

  // Read nfts from the contract
  const { data: nfts, isFetched: isNftStateRead } = useProgramQuery({
    program,
    serviceName: "vnft",
    functionName: "tokensForOwner",
    args: [account!.decodedAddress],
  });

  // Check whether the contract has tokens
  const isAnyNft = !!nfts?.length;

  return (
    <>
      <header>
        <h2>NFTs</h2>
      </header>
      {isNftStateRead ? (
        <>
          {isAnyNft && <ul>Display NFTs here</ul>}
          {!isAnyNft && <h2>There are no NFTs at the moment</h2>}
        </>
      ) : (
        <Loader />
      )}
    </>
  );
}

export { Home };
- Create a component that will display the NFT:
mkdir src/pages/home/nft
touch src/pages/home/nft/Nft.tsx
Write the component:
import { Link } from "react-router-dom";

import { ADDRESS } from "@/consts";

type Props = {
  id: string;
  name: string;
  media: string;
};

function NFT({ id, name, media }: Props) {
  const to = `/nft/${id}`;
  const src = `${ADDRESS.IPFS_GATEWAY_ADDRESS}/${media}`;
  const text = `#${id}`;

  return (
    <Link to={to}>
      <img src={src} alt={name} />
      <h3>{name}</h3>
      <p>{text}</p>
    </Link>
  );
}

export { NFT };
- Write a function for retrieving all NFTs from the contract in the
Home.tsxfile:
...
import { NFT } from './nft/Nft';

function Home() {
  ...
  const getNFTs = () =>
    nfts?.map(([id, { name, media }]) => (
      <li key={id}>
        <NFT id={id} name={name} media={media} />
      </li>
    ));
...
}
...
The whole code of the Home page:
import { useAccount, useProgram, useProgramQuery } from "@gear-js/react-hooks";

import { Program } from "@/api/sails/lib";
import { Loader } from "@/components";
import { ADDRESS } from "@/consts";

import { NFT } from "./nft/Nft";

function Home() {
  const { data: program } = useProgram({
    library: Program,
    id: ADDRESS.CONTRACT_ADDRESS,
  });
  const { account } = useAccount();
  const { data: nfts, isFetched: isNftStateRead } = useProgramQuery({
    program,
    serviceName: "vnft",
    functionName: "tokensForOwner",
    args: [account!.decodedAddress],
  });

  const isAnyNft = Boolean(nfts?.length);

  const getNFTs = () =>
    nfts?.map(([id, { name, media }]) => (
      <li key={id}>
        <NFT id={id} name={name} media={media} />
      </li>
    ));

  return (
    <>
      <header>
        <h2>NFTs</h2>
      </header>
      {isNftStateRead ? (
        <>
          {isAnyNft && <ul>{getNFTs()}</ul>}
          {!isAnyNft && <h2>There are no NFTs at the moment</h2>}
        </>
      ) : (
        <Loader />
      )}
    </>
  );
}

export { Home };