Getting started in 5 minutes
This guide provides a general overview of running programs on the Vara Network. It guides you through how to write a program, compile it to Wasm and deploy it to the network.
Want to take your blockchain development skills to the next level? Join Gear Academy's free courses. Start from scratch with our Beginner Course or explore the implementation of programs using Gear technologies with the Intermediate Course. More courses are being developed.
Don't miss this opportunity to become a pro Vara blockchain developer. Enroll now in Gear Academy's courses!
Prerequisites
-
Linux users should generally install
GCCandClangaccording to their distribution’s documentation.For example, on Ubuntu use:
sudo apt install -y build-essential clang cmake curlOn macOS, you can get a compiler toolset by running:
xcode-select --install -
Make sure you have installed all the tools required to build a program in Rust. Rustup will be used to get Rust compiler ready:
curl --proto '=https' --tlsv1.2 -sSf https://sh.rustup.rs | sh -
A Wasm compiler is necessary for compiling a Rust program to Wasm, add it to the toolchain.
rustup target add wasm32-unknown-unknown
Note: If you use Windows, download and install Build Tools for Visual Studio.
Creating your first Vara program
To get started, install the sails-cli tool using the following command:
cargo install sails-cli
After installation, you can create a new Vara project named vara-app by running:
cargo sails new-program vara-app
Your vara-app directory tree should look like this:
vara-app
│
├── app
│   └── src
│       └── lib.rs
│
├── client
│   └── ...
│
├── src
│   └── lib.rs
│
├── tests
│   └── gtest.rs
│
├── build.rs
│
├── Cargo.toml
│
└──  README.md
In Cargo.toml, the essential libraries required for building your first project have been included, for example:
[workspace]

members = ["client"]


[package]
name = "vara-app"
version = "0.1.0"
edition = "2021"

[dependencies]
vara-app-app = { path = "app" }

[build-dependencies]
vara-app-app = { path = "app" }
sails-rs = { version = "0.5.0", features = ["wasm-builder"] }
sails-idl-gen = "0.5.0"

[dev-dependencies]
vara-app = { path = ".", features = ["wasm-binary"] }
vara-app-client = { path = "client" }
sails-rs = { version = "0.5.0", features = ["gtest"] }
tokio = { version = "1.39", features = ["rt", "macros"] }

[features]
wasm-binary = []
Let's move on to the main code:
This Rust code defines a simple program for the Vara Network, now updated with a new structure. The program consists of a VaraAppProgram struct with a method to instantiate it and another method to return a VaraAppService struct. The VaraAppService struct has a service method that returns the string "Hello from VaraApp!". This example demonstrates the basic structure and functionality of a Vara program using the sails_rs library.
#![no_std]

use sails_rs::prelude::*;

struct VaraAppService(());

#[sails_rs::service]
impl VaraAppService {
    pub fn new() -> Self {
        Self(())
    }

    // Service's method (command)
    pub fn do_something(&mut self) -> String {
        "Hello from VaraApp!".to_string()
    }

    // Service's query
    pub fn get_something(&self) -> String {
        "Hello from VaraApp!".to_string()
    }
}

pub struct VaraAppProgram(());

#[sails_rs::program]
impl VaraAppProgram {
    // Program's constructor
    pub fn new() -> Self {
        Self(())
    }

    // Exposed service
    pub fn vara_app(&self) -> VaraAppService {
        VaraAppService::new()
    }
}
Build your program with a single command:
cargo build --release
After a successful build, you can execute your tests to verify that everything is functioning correctly:
cargo test --release
If everything has been executed successfully, your working directory should now contain a target directory structured as follows:
vara-app
├── ...
├── target
    ├── ...
    └── wasm32-unknown-unknown
        └── release
            ├── vara_app.wasm       <---- this is our built .wasm file
            ├── vara_app.opt.wasm   <---- this is optimized .wasm file
            └── vara_app.idl        <---- this is our application interface .idl file
vara_app.wasmis the output Wasm binary built from source filesvara_app.opt.wasmis the optimized Wasm aimed to be uploaded to the blockchain
(Optimization include reducing the file size and improving performance)vara_app.idlis the Interface Definition Language (IDL) file that describes the application's interface, defining the structure and methods callable on thevara_appprogram. It’s essential for interacting with the application on the blockchain, specifying available functions and their inputs and outputs. This file is crucial for developers and clients to ensure they use the correct method signatures and data types when interacting with the deployed program.
Deploy your program to the Testnet
Gear provides an application for developers (Gear Idea) that implements all of the possibilities of interaction with programs in Vara networks (mainnet and testnet), available at idea.gear-tech.io.
Create account
-
Download the Polkadot extension for your browser via https://polkadot.js.org/extension/. This extension manages accounts and allows the signing of transactions with those accounts. It is a secure tool that allows injecting your accounts into any Substrate-based dapp. It does not perform wallet functions, e.g send funds.
-
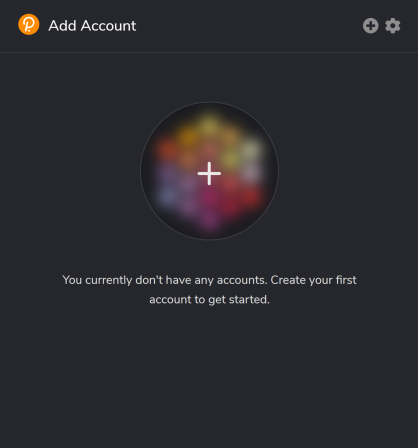
Once downloaded, click + button to create a new account:
-
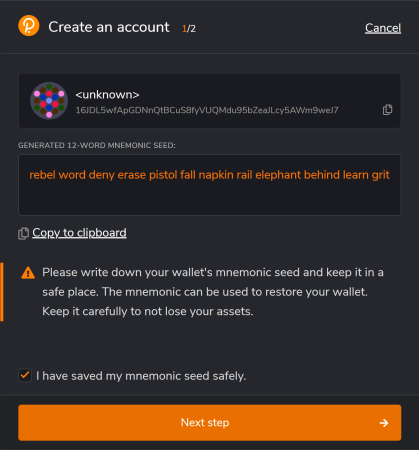
Make sure you save your 12-word mnemonic seed securely.
-
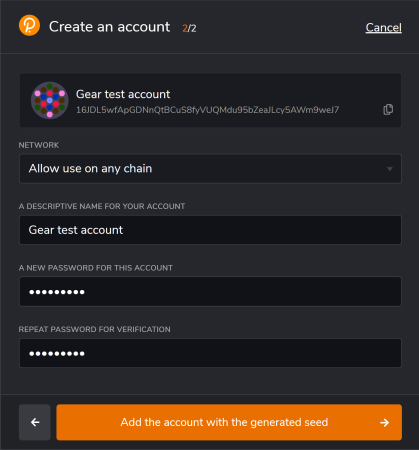
Select the network that will be used for this account - choose "Allow to use on any chain". Provide any name to this account and password and click "Add the account with the generated seed" to complete account registration.
-
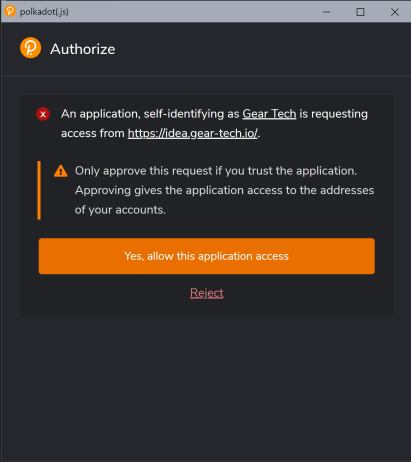
Go to idea.gear-tech.io. You will be prompted to grant access to your account for the application, click "Yes, allow this application access".
-
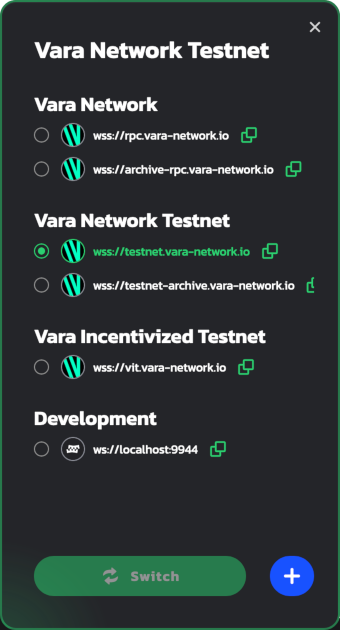
Make sure you are connected to the
Vara Network Testnet. The network name is at the bottom left corner of the page.
-
You may switch the network by clicking on the network name.
-
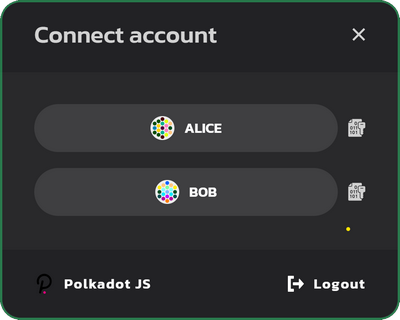
Click the
Connectbutton on the top-right to select an account that will be connected to Vara.
-
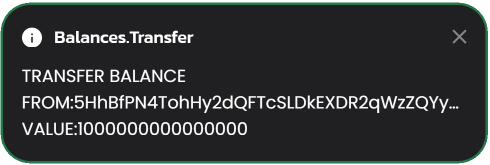
In accordance with the Actor model, programs are uploaded to a network via messages. Vara node charges a gas fee during message processing. Your account balance needs to have enough funds to upload a program to the
TestNet. Click the following button to get the test balance:A notification about successful balance replenishment will appear after passing captcha at the bottom of the window. You can also see the current account balance next to the account name in the upper right corner.
Upload program
-
When your account balance is sufficient, click the Upload program button to open a popup window for uploading your new program.
-
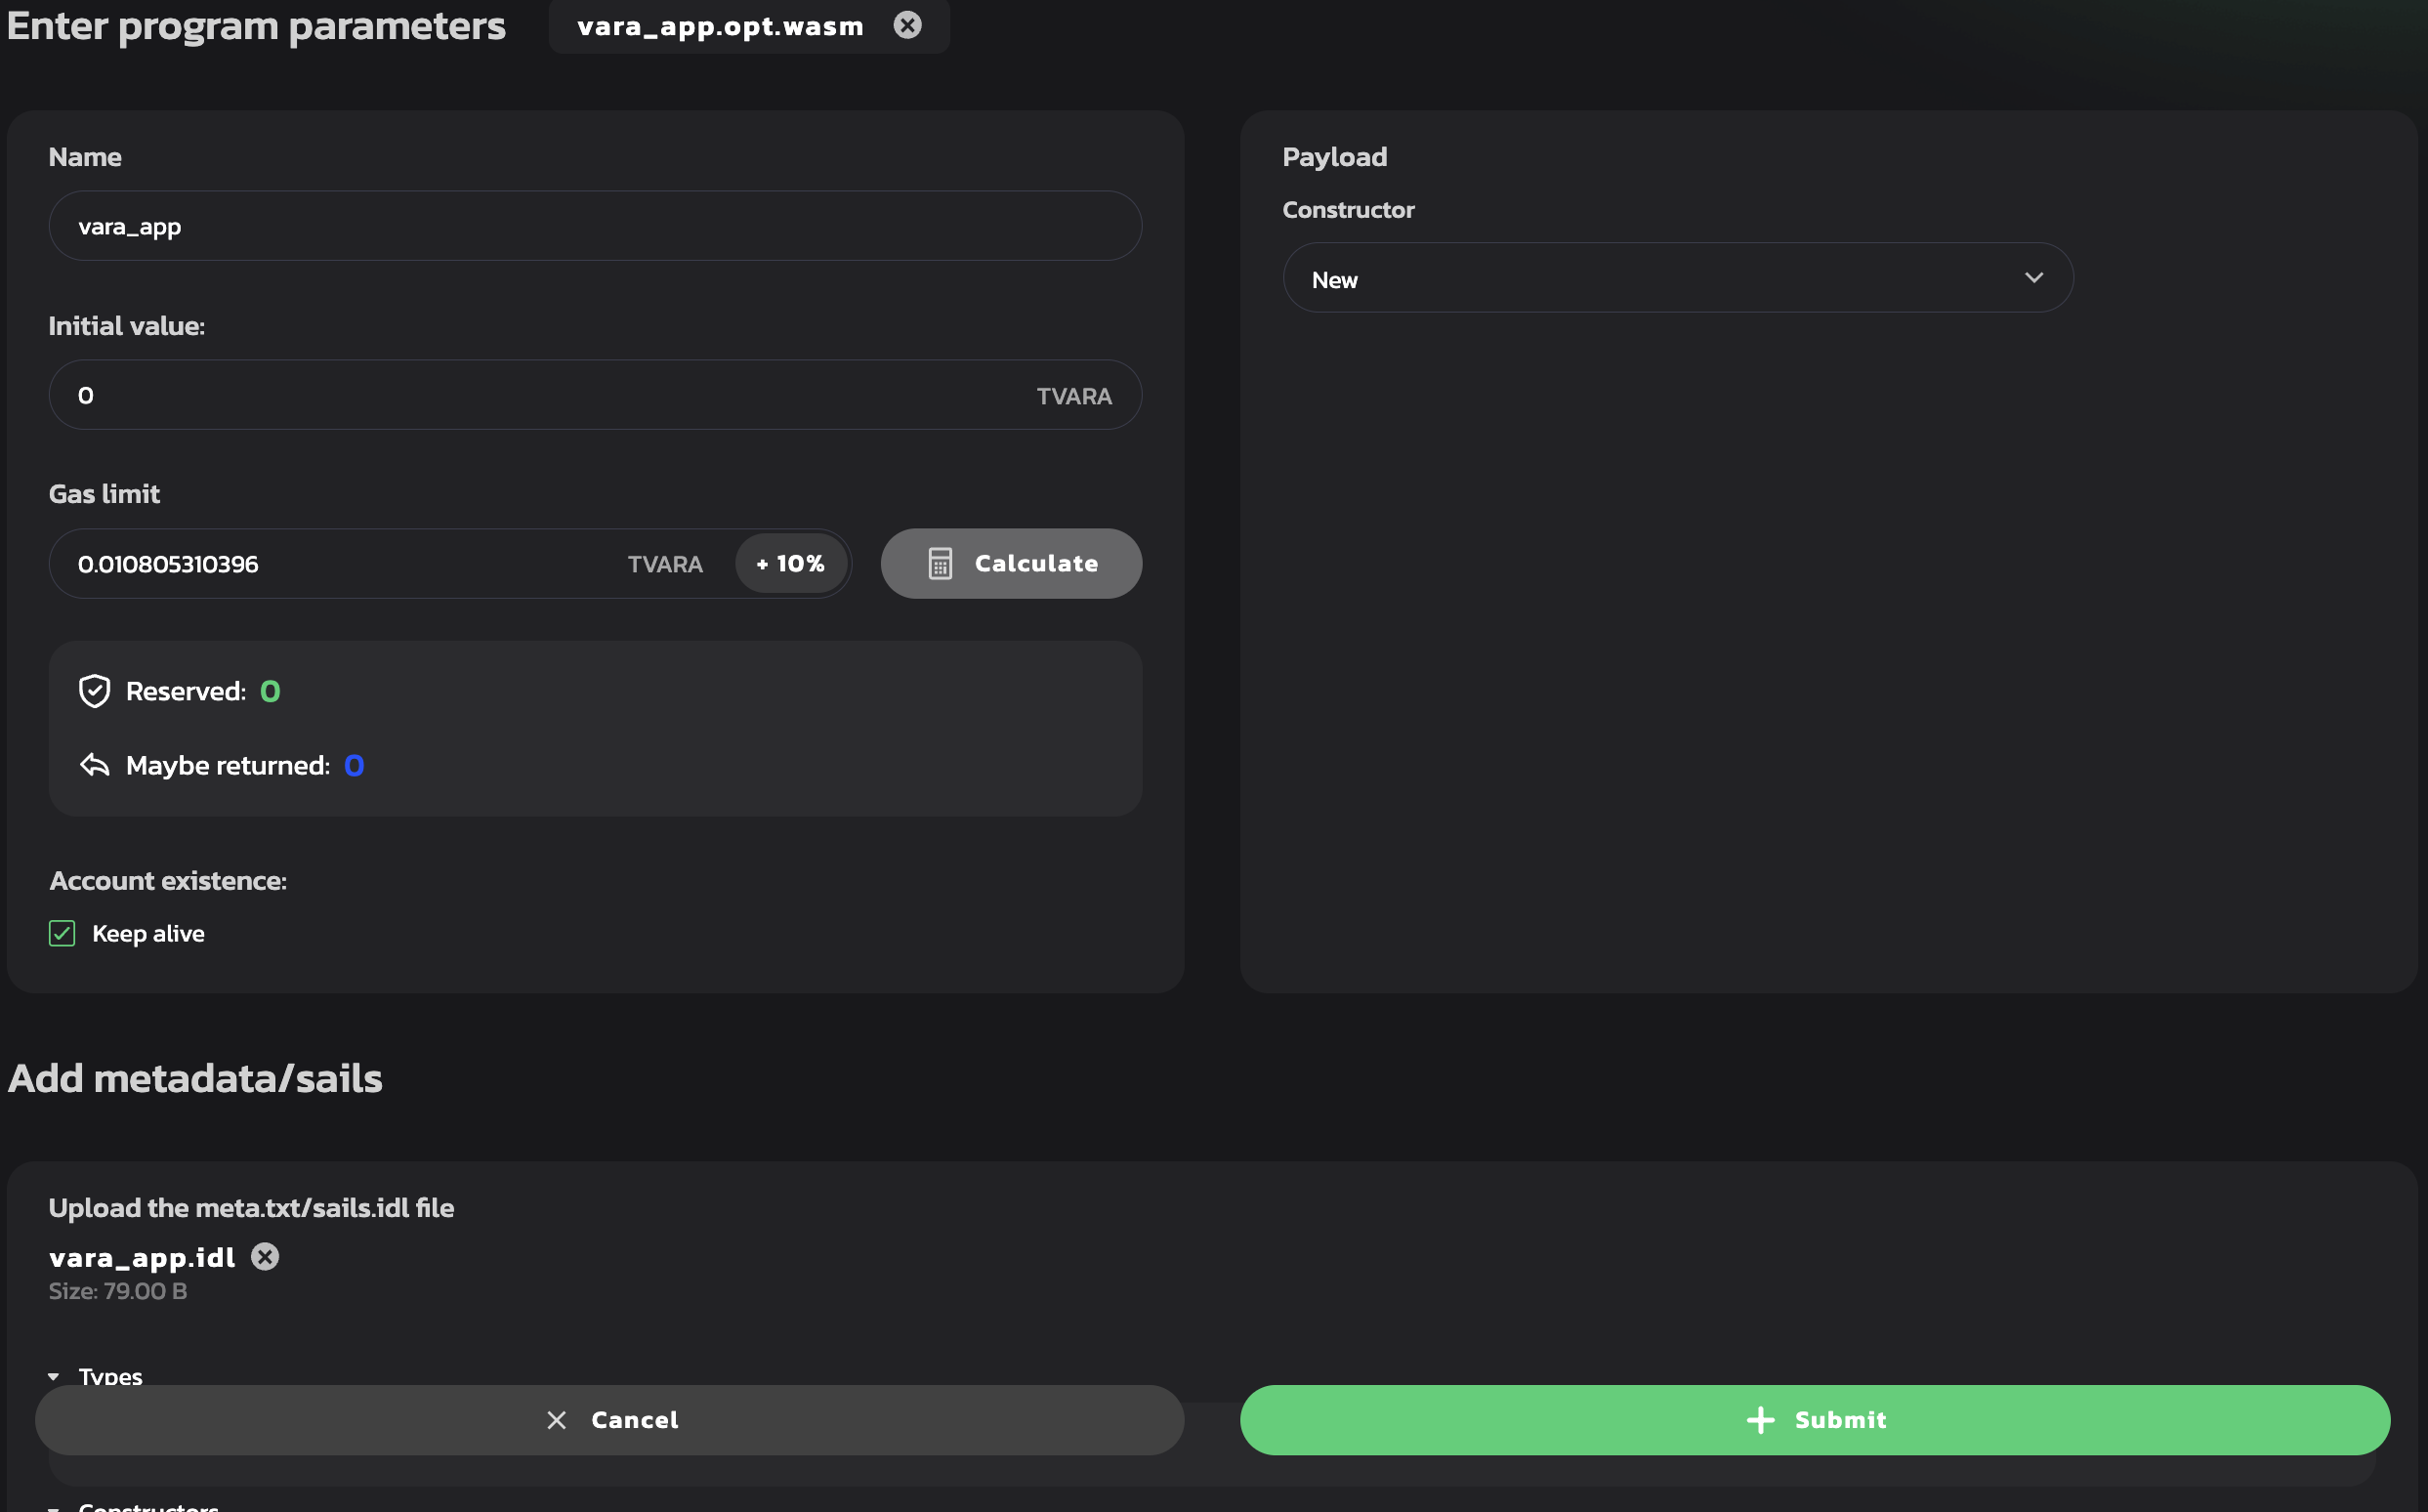
In the popup, click the Select file button and navigate to the
.opt.wasmfile we have pointed to above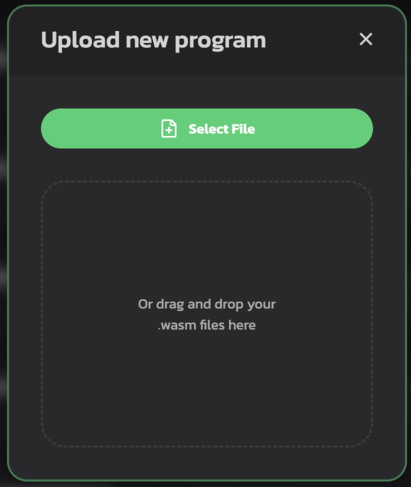
-
After uploading the
.opt.wasmfile, you need to upload theIDLfile. Click the Select file button and navigate to the.idlfile referenced earlier.
-
Specify the program name, click the Calculate Gas button to set the gas limit automatically, and then click the Submit button.
-
Sign the
gear.uploadProgramtransaction to Vara. It is recommended to set the checkboxRemember my password for the next 15 minutesfor your convenience.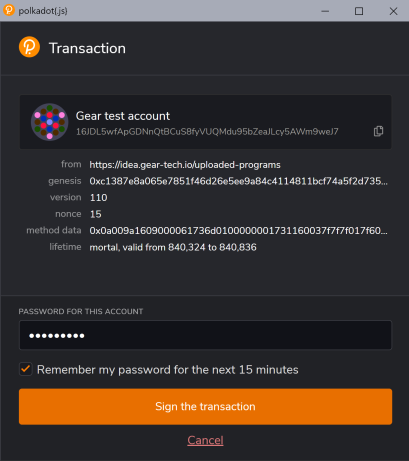
-
Once your program is uploaded, go to the
Programssection, find your program, and select it.
-
Click on your program to see more information, such as
Metadata/Sails,Messages,Events, and theVoucherspane.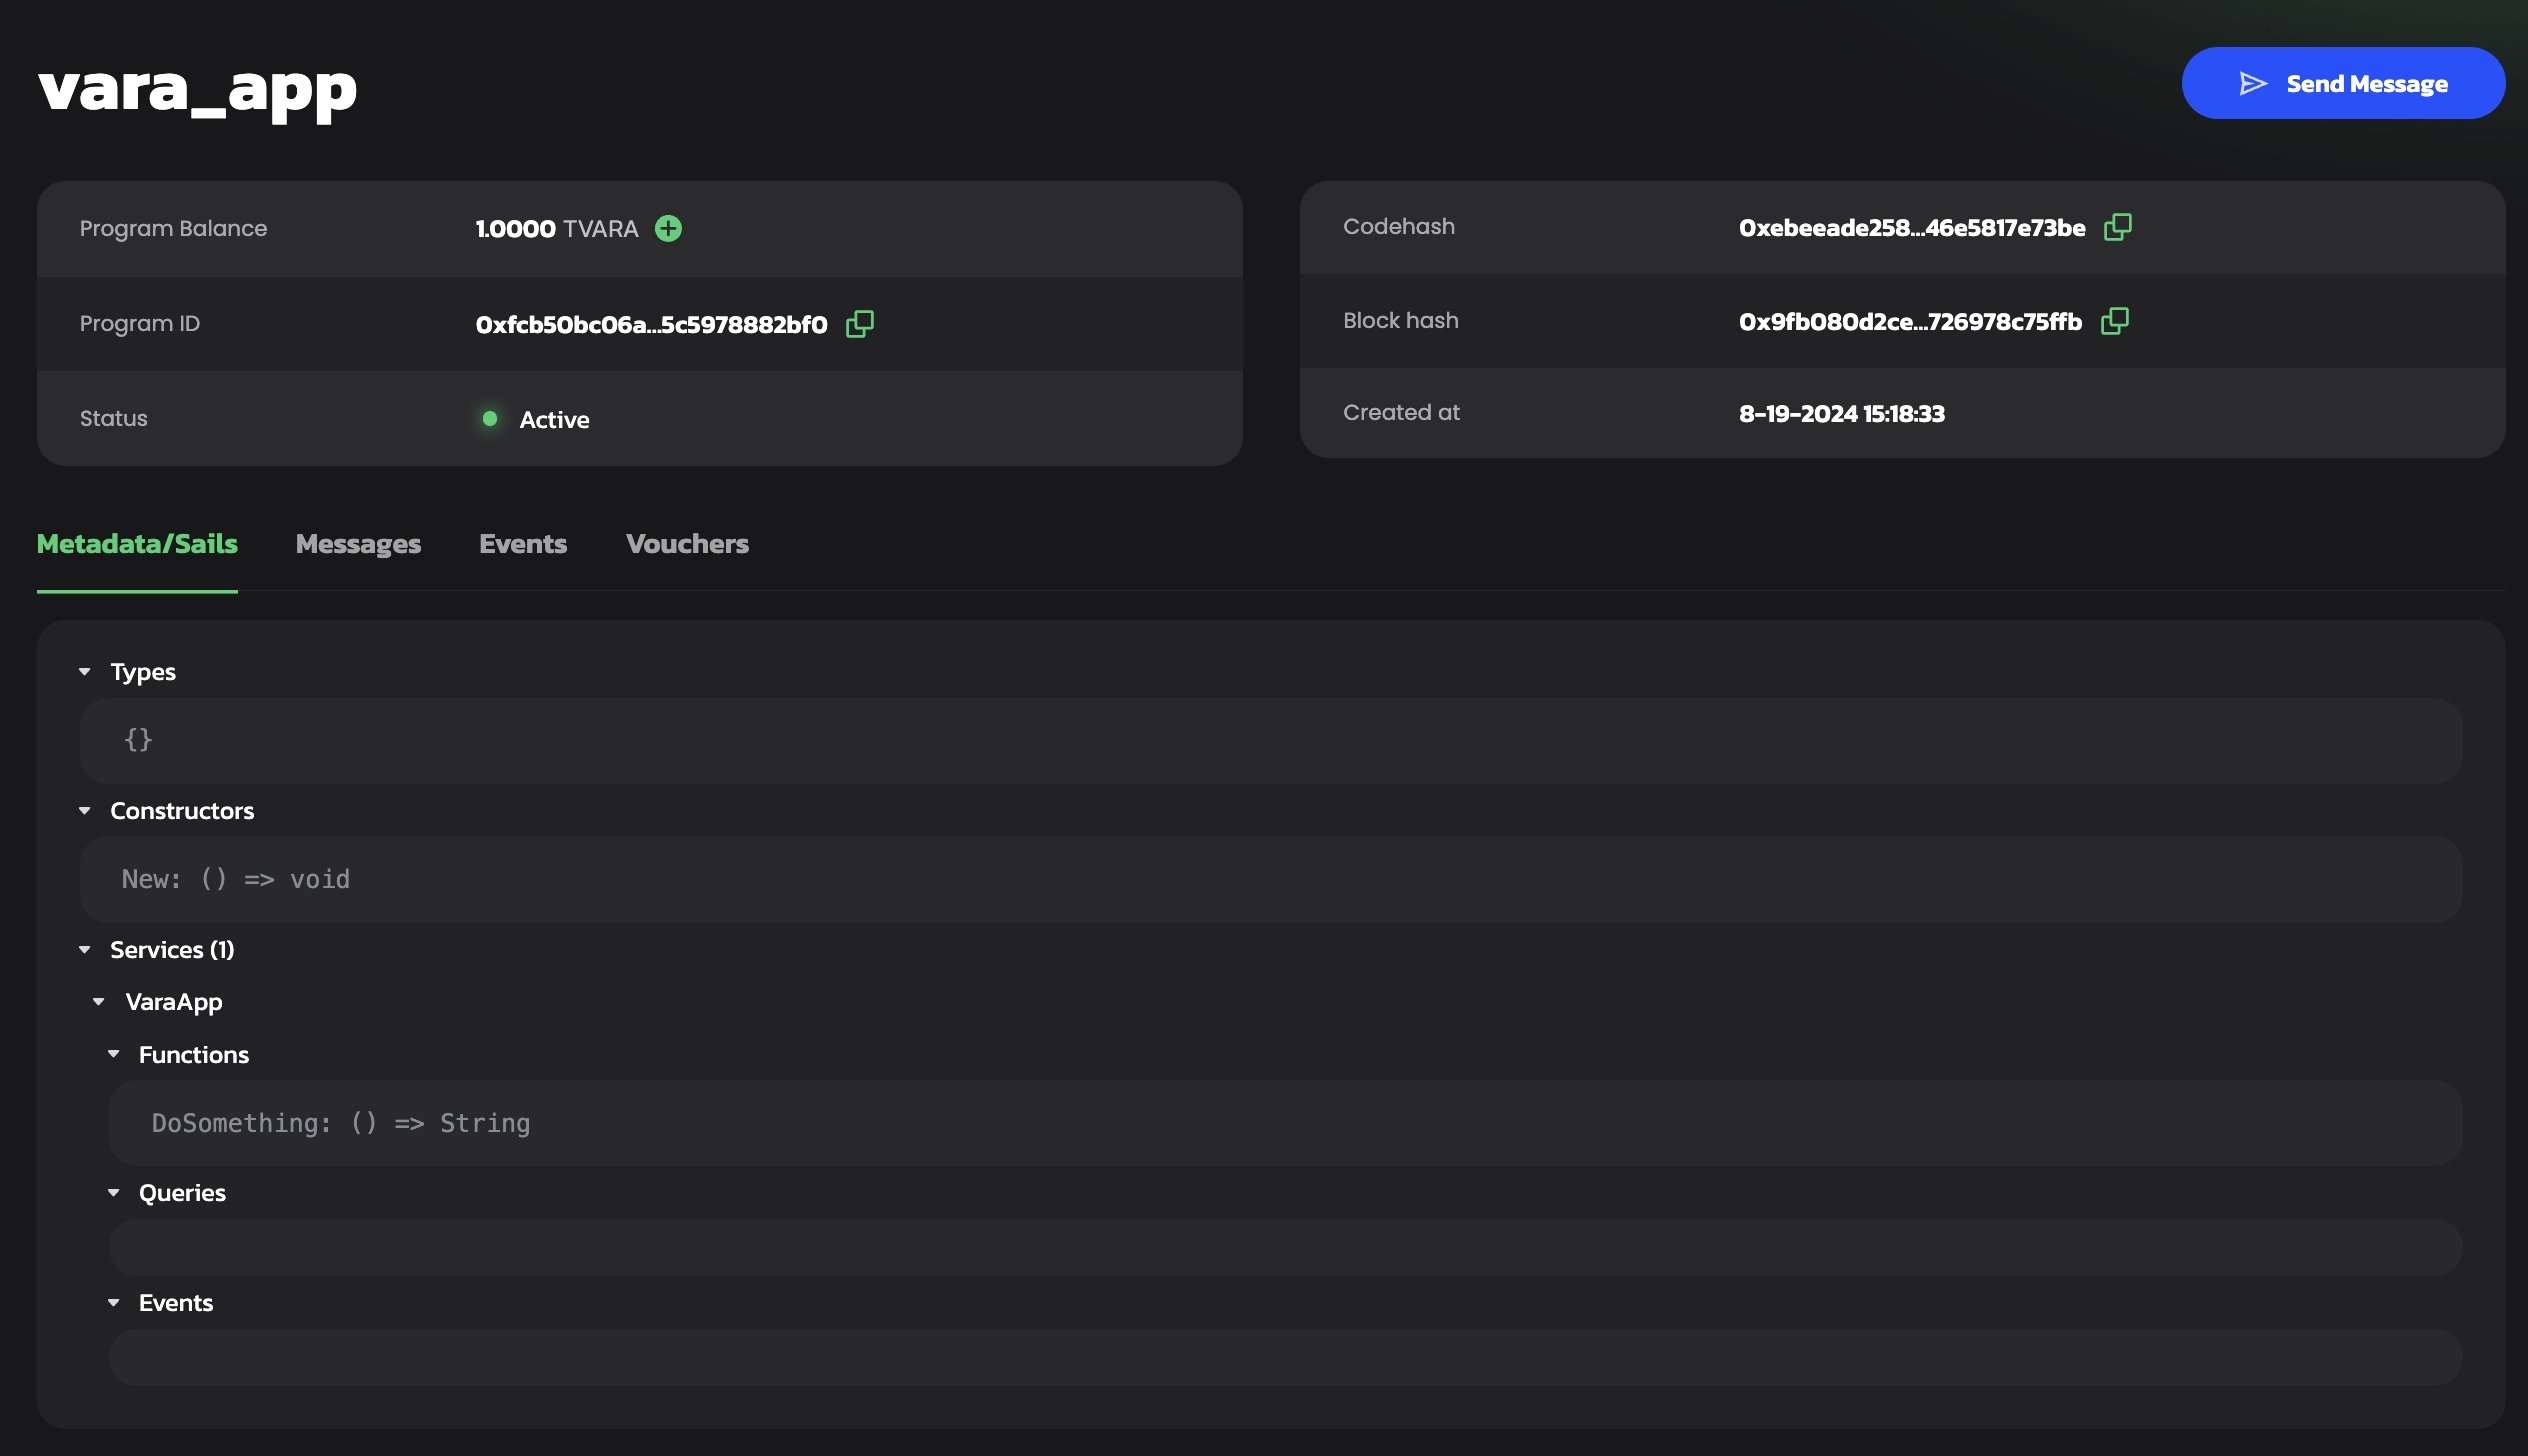
Send message to a program
-
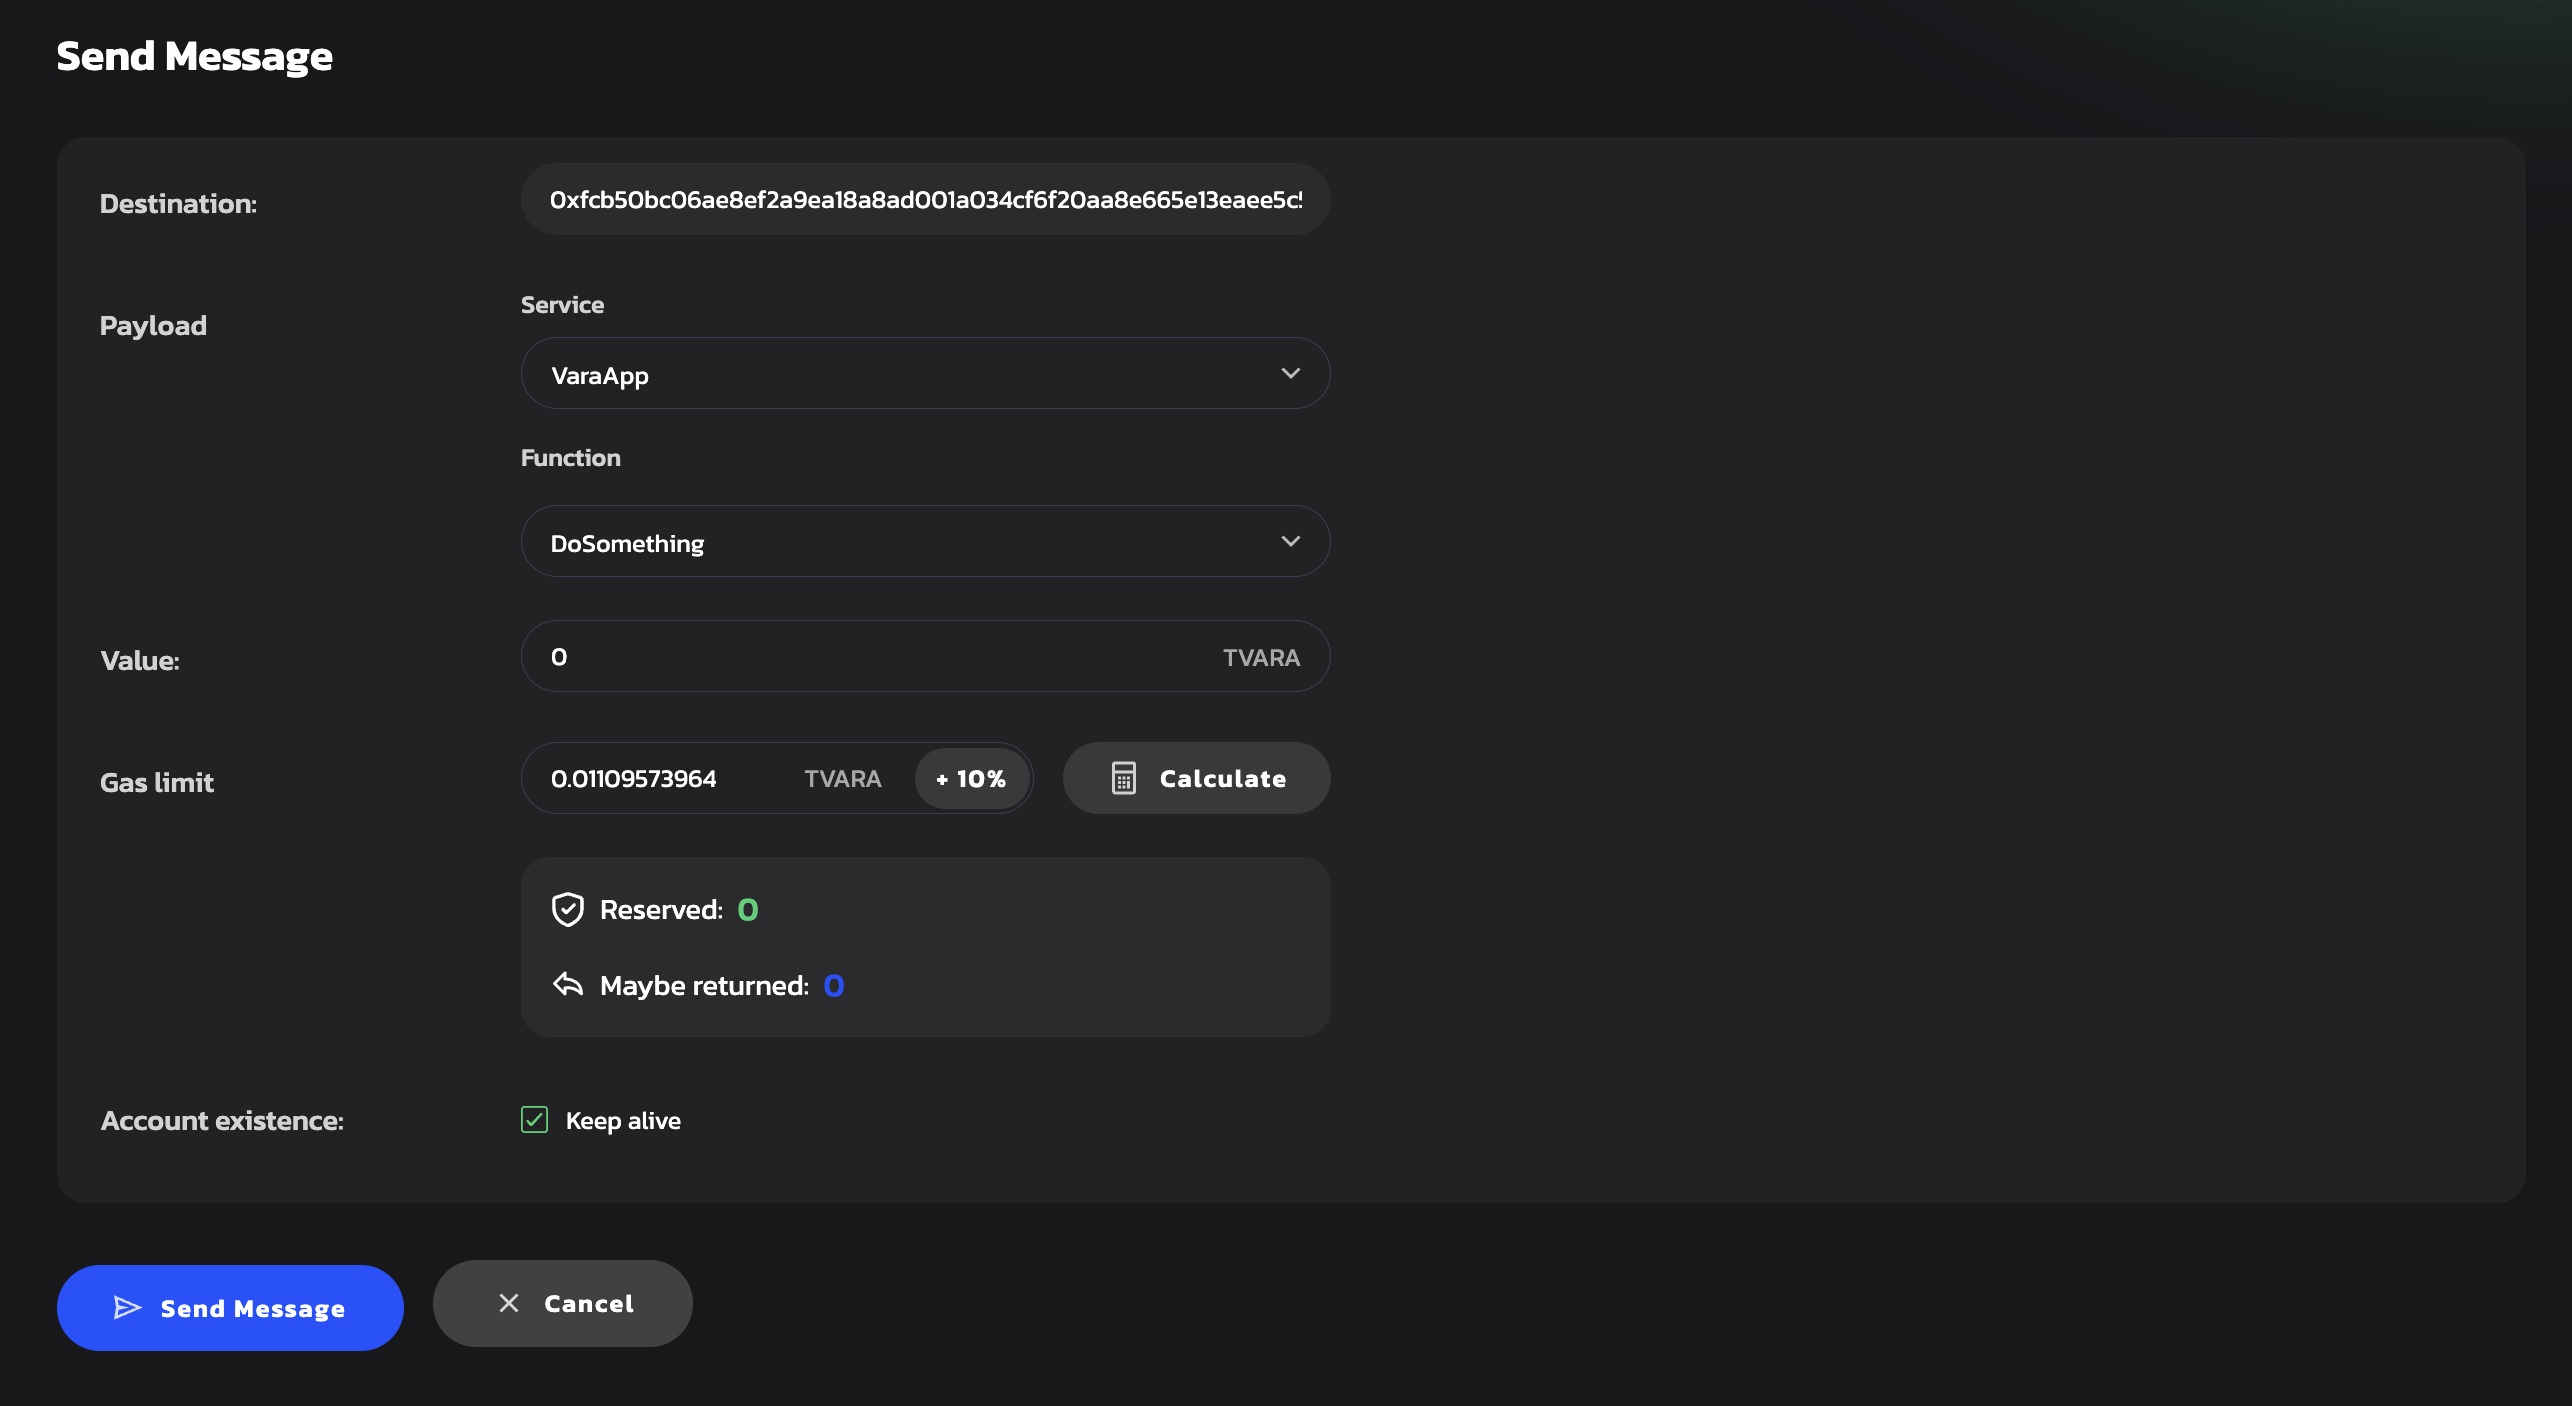
Send your newly uploaded program a message to see how it responds! Click the Send message button.
-
Click the Calculate Gas button to set the gas limit automatically, then click the Send Message button.
-
Sign the
gear.sendMessagetransaction as it is shown in step 5 of the section Upload Program. -
After your message has been successfully processed, you will see corresponding notifications:
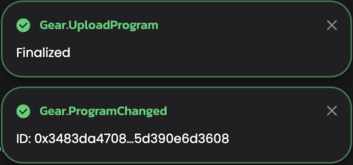
You have just sent a
DoSomethingcommand to your program! -
Go back to your program by either clicking the Cancel button or using the browser's back button.
-
In the message pane, you can view the corresponding response.

-
Click on the message response to see more information. The expected "Hello from VaraApp!" response can be seen in the
Payload.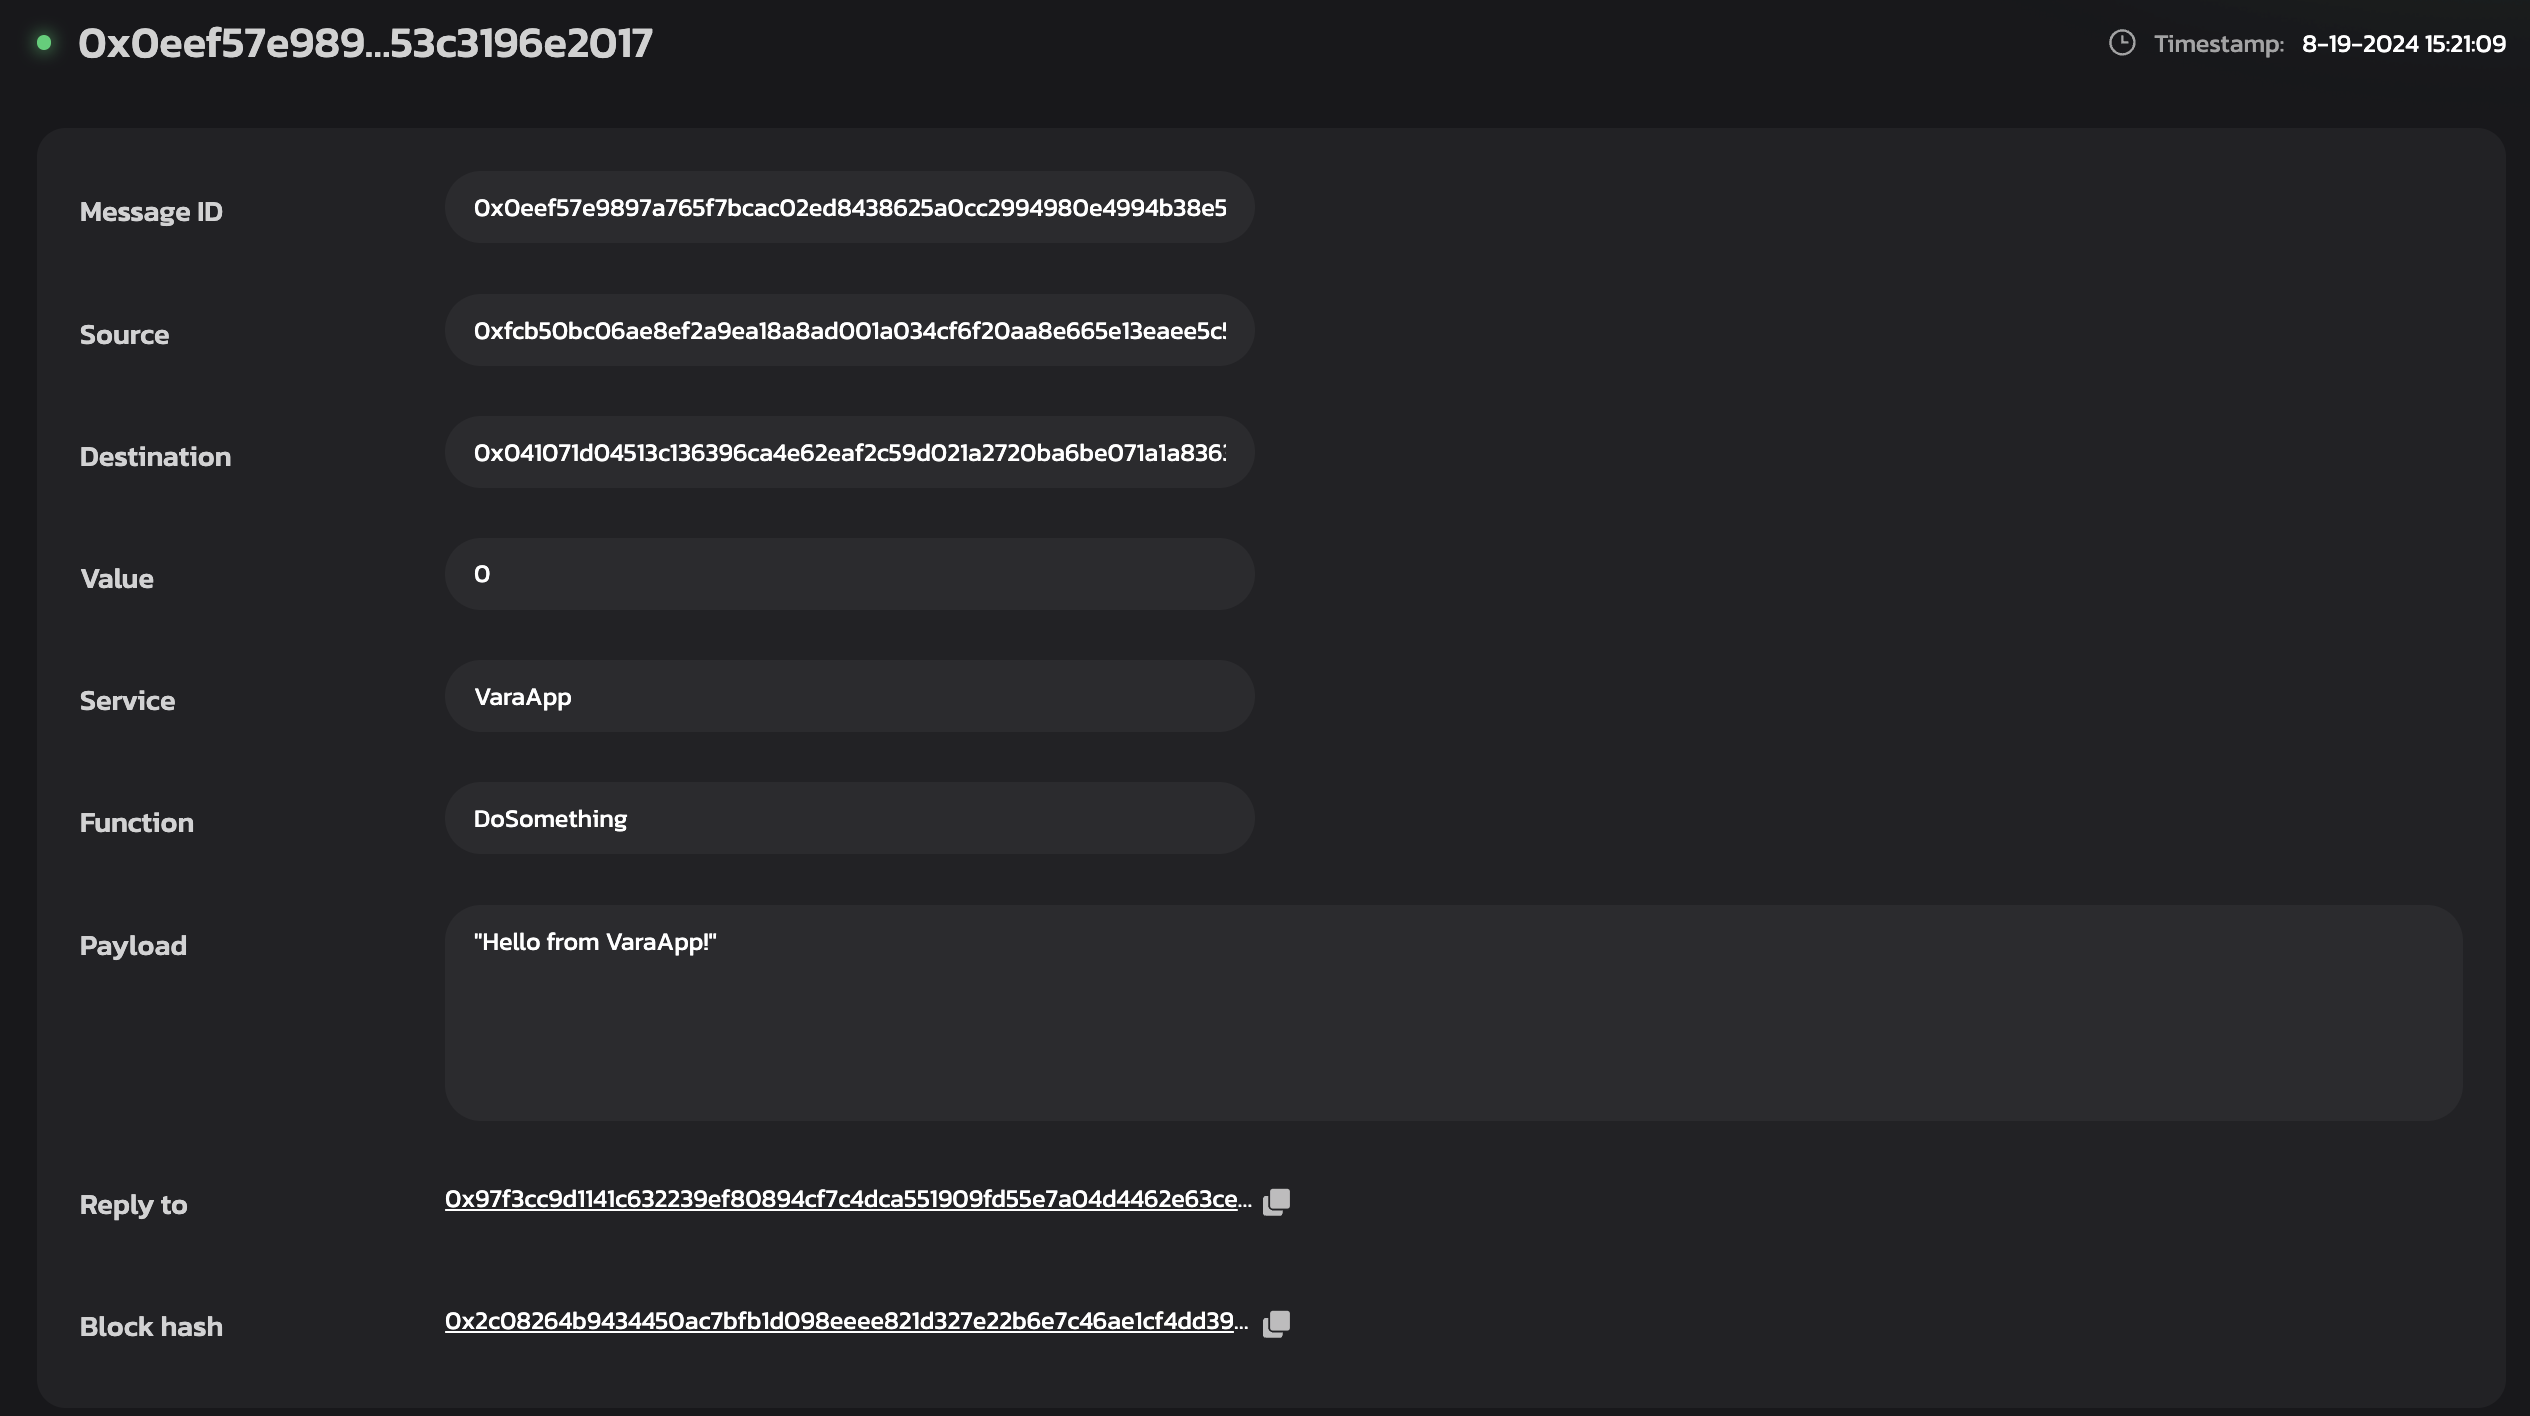
Further reading
For more info about writing programs for Vara and the specifics behind the program implementation, refer to this article.