Run Vara Validator
Validators are essential contributors to a successful blockchain network. When chosen to be part of a validator set, they help produce blocks and receive rewards for their contributions to the platform.
Holding such responsibility requires careful commitment from each validator because of personal and nominator stakes that may be at risk; however, working as a network validator is also highly rewarding!
Hardware requirements
Beginners can start their validator setup on Linux-based cloud servers. Select the VPS provider that best meets the requirements below to maximize performance and run securely.
OS:Ubuntu 20.04 or later, Amazon Linux 2 or laterCPU:4vCPUs @ 3.4GHz; (it could be Intel Ice Lake, Xeon or Core series, even AMD Zen3)Memory:16GB RAMStorage:minimum 160GB SSD storage. Should be increased as the blockchain grows.
Initial Set Up
Install Vara Node
Download the latest stable release of the gear node from the builds repo and unpack (choose the binary according to your host operating system):
- MacOS ARM
- MacOS x64
- Linux x64
Terminal:
curl https://get.gear.rs/gear-v1.1.1-aarch64-apple-darwin.tar.xz | tar xJ
or
macOS M1/M2: gear-v1.1.1-aarch64-apple-darwin.tar.xz
Run the node:
❯ ./gear --version
gear 1.1.1-33ee05d5aab
Terminal:
curl https://get.gear.rs/gear-v1.1.1-x86_64-apple-darwin.tar.xz | tar xJ
or
macOS Intel x64: gear-v1.1.1-x86_64-apple-darwin.tar.xz
Run the node:
❯ ./gear --version
gear 1.1.1-33ee05d5aab
Terminal:
curl https://get.gear.rs/gear-v1.1.1-x86_64-unknown-linux-gnu.tar.xz | tar xJ
or
Linux x64: gear-v1.1.1-x86_64-unknown-linux-gnu.tar.xz
Run the node:
❯ ./gear --version
gear 1.1.1-33ee05d5aab
Run Vara node as service
Copy the gear executable to the /usr/bin directory:
sudo cp gear /usr/bin
To run the Gear node as one of the Linux services, you need to configure the systemd file:
cd /etc/systemd/system
sudo nano vara-node.service
Configure and save:
[Unit]
Description=Vara Node
After=network.target

[Service]
Type=simple
User=root
Group=root

ExecStart=/usr/bin/gear \
    --chain vara  \
    --rpc-cors all \
    --name "VALIDATOR_NAME" \
    --telemetry-url "wss://telemetry.rs/submit 1" \
    --validator
Restart=always
RestartSec=3
LimitNOFILE=10000

[Install]
WantedBy=multi-user.target
Declaration ExecStart points to the location of the gear binary file. In this case, it is in /usr/bin directory.
The example is configured to run the service from the root user.
Save & Exit. That’s it. Now we can start the service.
sudo systemctl start vara-node.service
Syncing the Blockchain
If you follow all the instructions, the node will require time to synchronize with the blockchain. To check the service status in real time use:
sudo journalctl --follow -u vara-node.service
You can also see your running node in telemetry portal: https://telemetry.rs
Create Stash and Controller accounts
Create two accounts: Stash and Controller, for security reasons. Ensure each of them has enough funds to pay the transaction fee. Store most of the funds on the Stash accounts, which are the optimal location for saving staking funds safely and securely.
Use the prompt to generate a new seed phrase:
./gear key generate --network vara
Save both seed phrases in a secure place. Skip the previous step if you intend to use your seed phrase. If you want to use your seed phrase, skip this step. You can use Polkadot.{js} or Polkadot extension
Get session keys
You need to tell the chain your Session keys. If you are on a remote server, it is easier to run this command on the same machine (while the node is running with the default HTTP RPC port configured):
curl -H "Content-Type: application/json" -d '{"id":1, "jsonrpc":"2.0", "method": "author_rotateKeys", "params":[]}' http://localhost:9944
Output:
{“jsonrpc”:”2.0",”result”:”0x5e977ddcc0c69a6aed067052d5bd8f6bd365fae03562fd447d434e9814ac415d7c9ffe722364922bda314e44654f5c0cdc00d152470d5433f12cb73d078061863ac769d5f17b5460f042d221edf0099d2ce4c23edbe96ac943452cc4d3ad6d72”,”id”:1}
The output will have a hex-encoded result field. Copy and save it!
Setup Validator
Once your node is live, synchronized, and appears in telemetry, and session keys are prepared, it's time to set up the validator.
Go to Polkadot.{js} app and navigate to Network → Staking → Account actions section and click +Validator:
Choose your stash and controller accounts and specify your stake amount. It's recommended to utilize distinct accounts both stash and controller.
The minimum self-stake required to become an active Validator is currently 100_000 VARA, but it is subject to change over time.
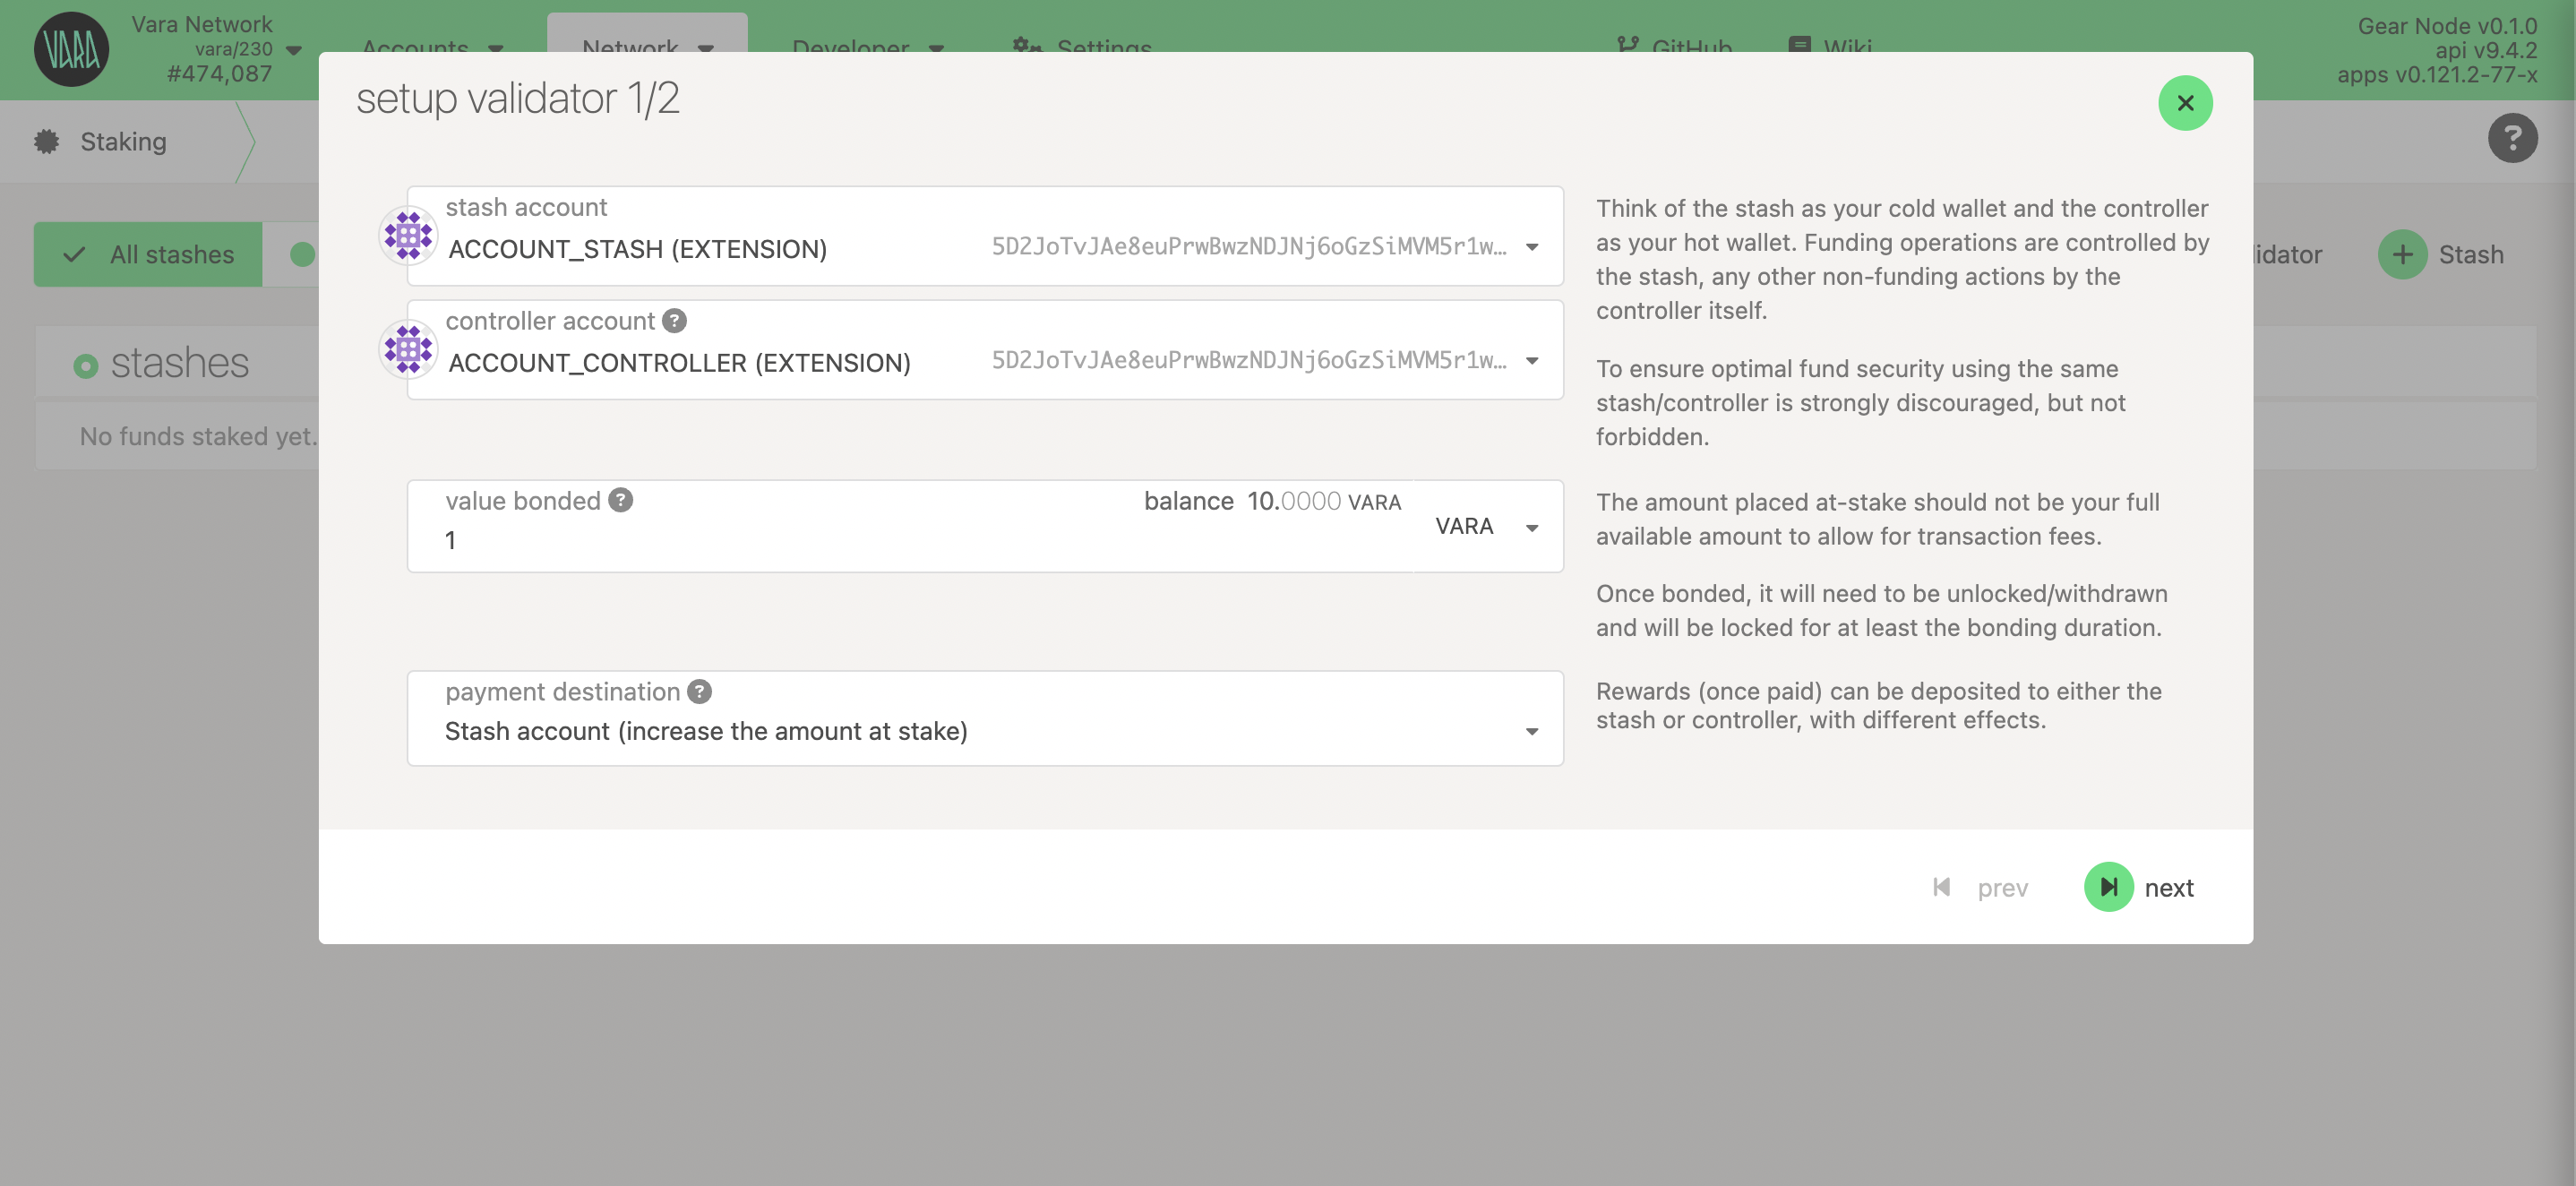
Set the session key and reward commission.
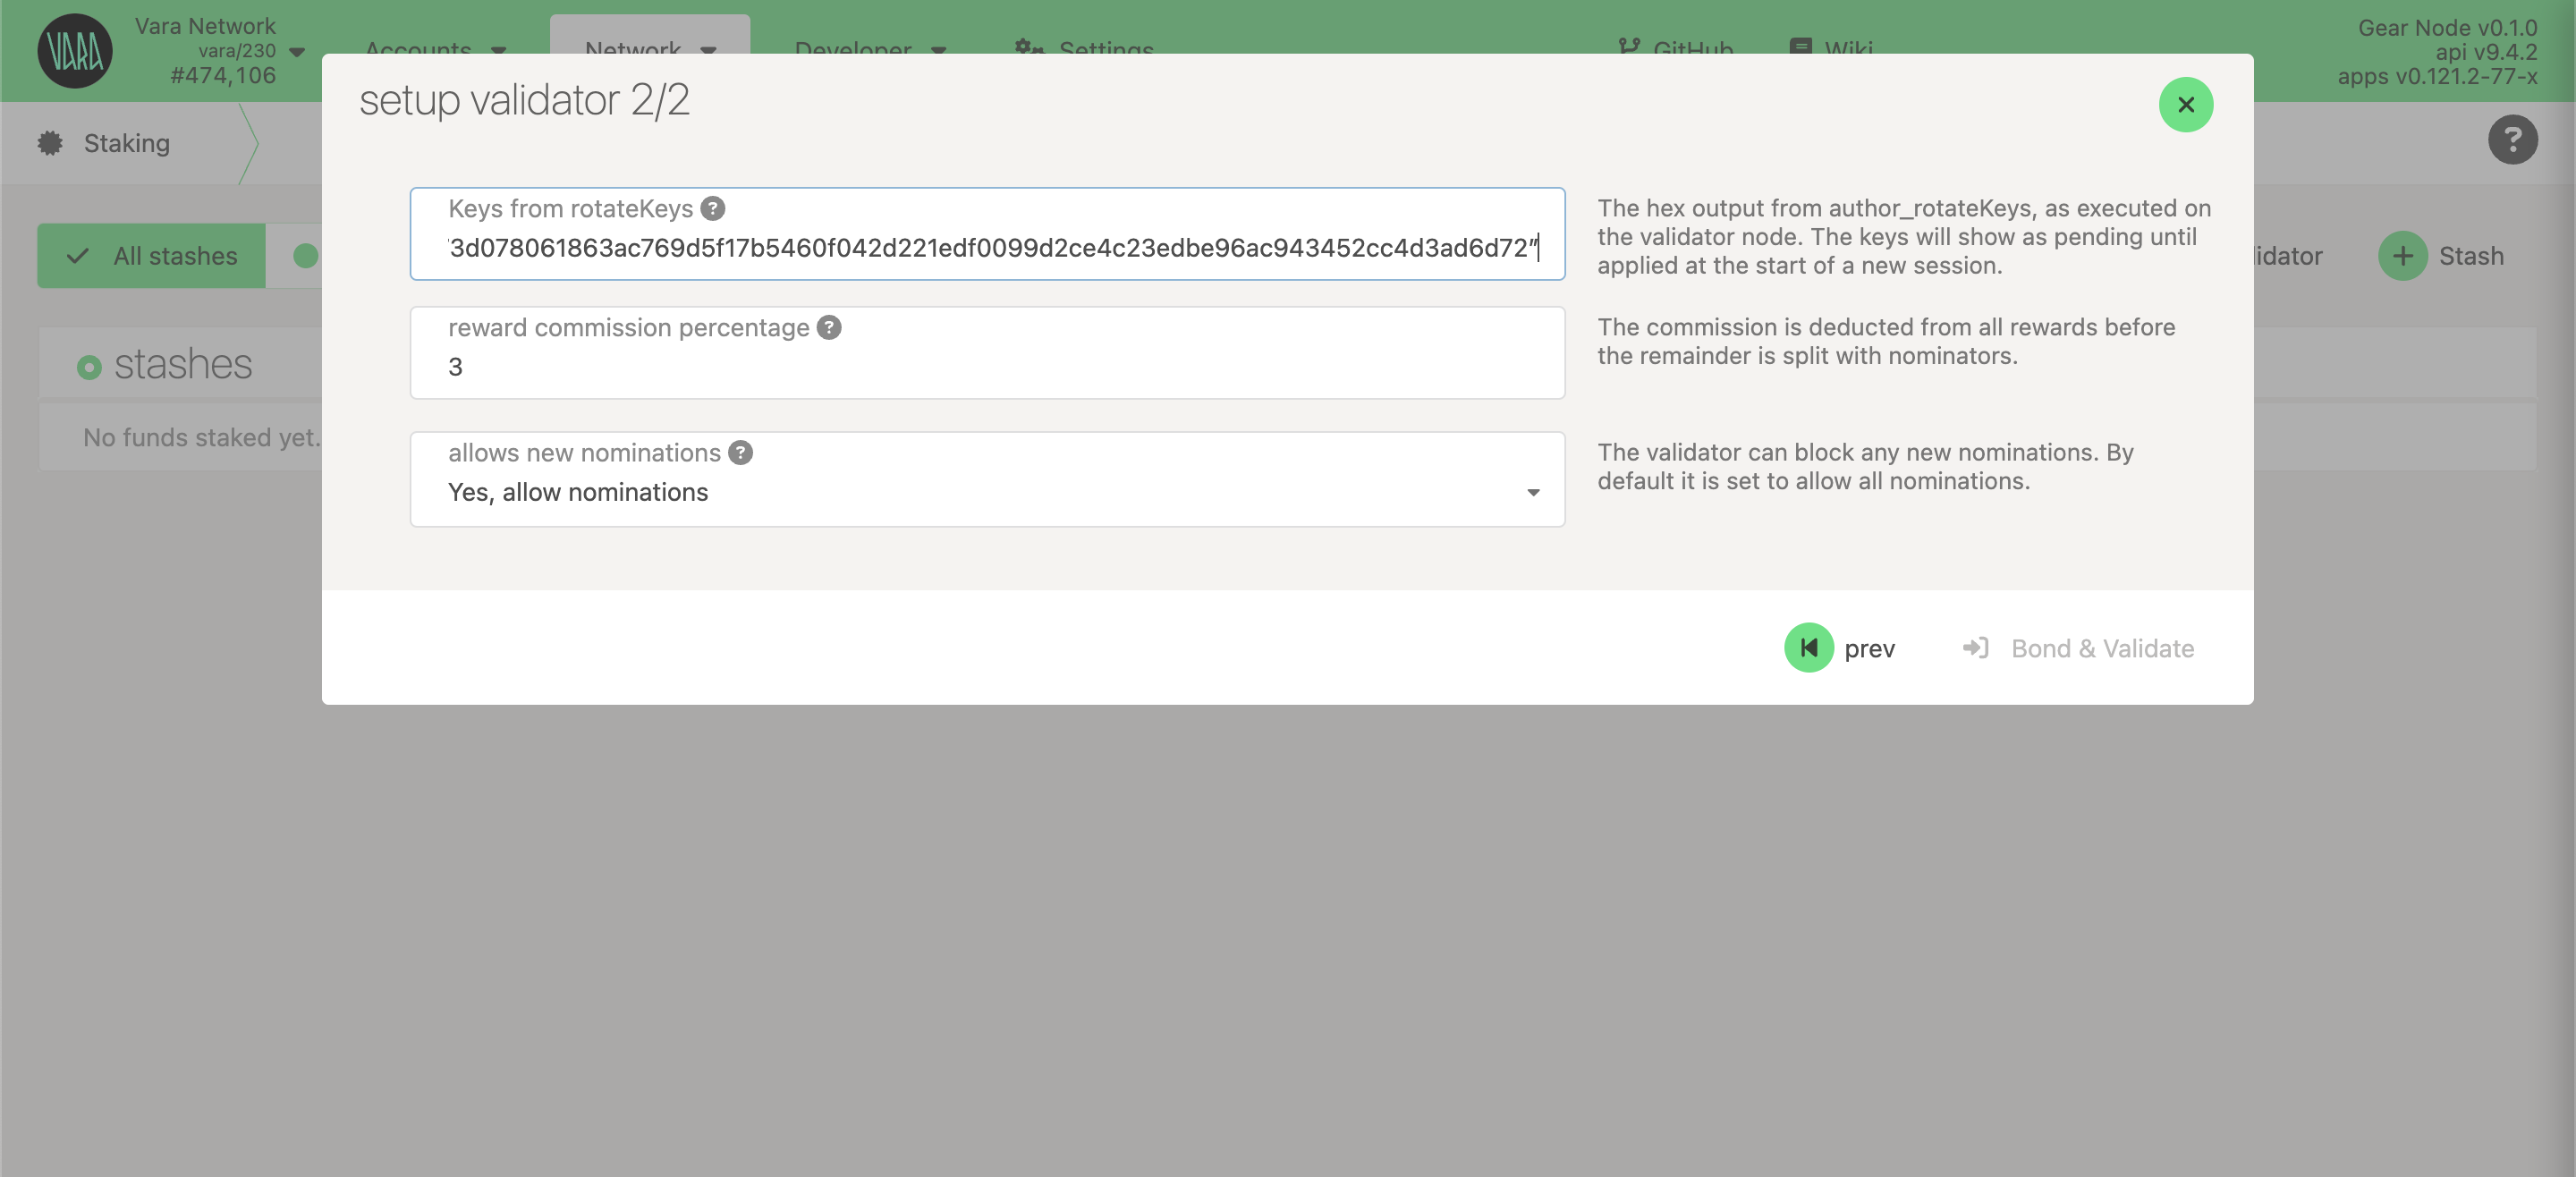
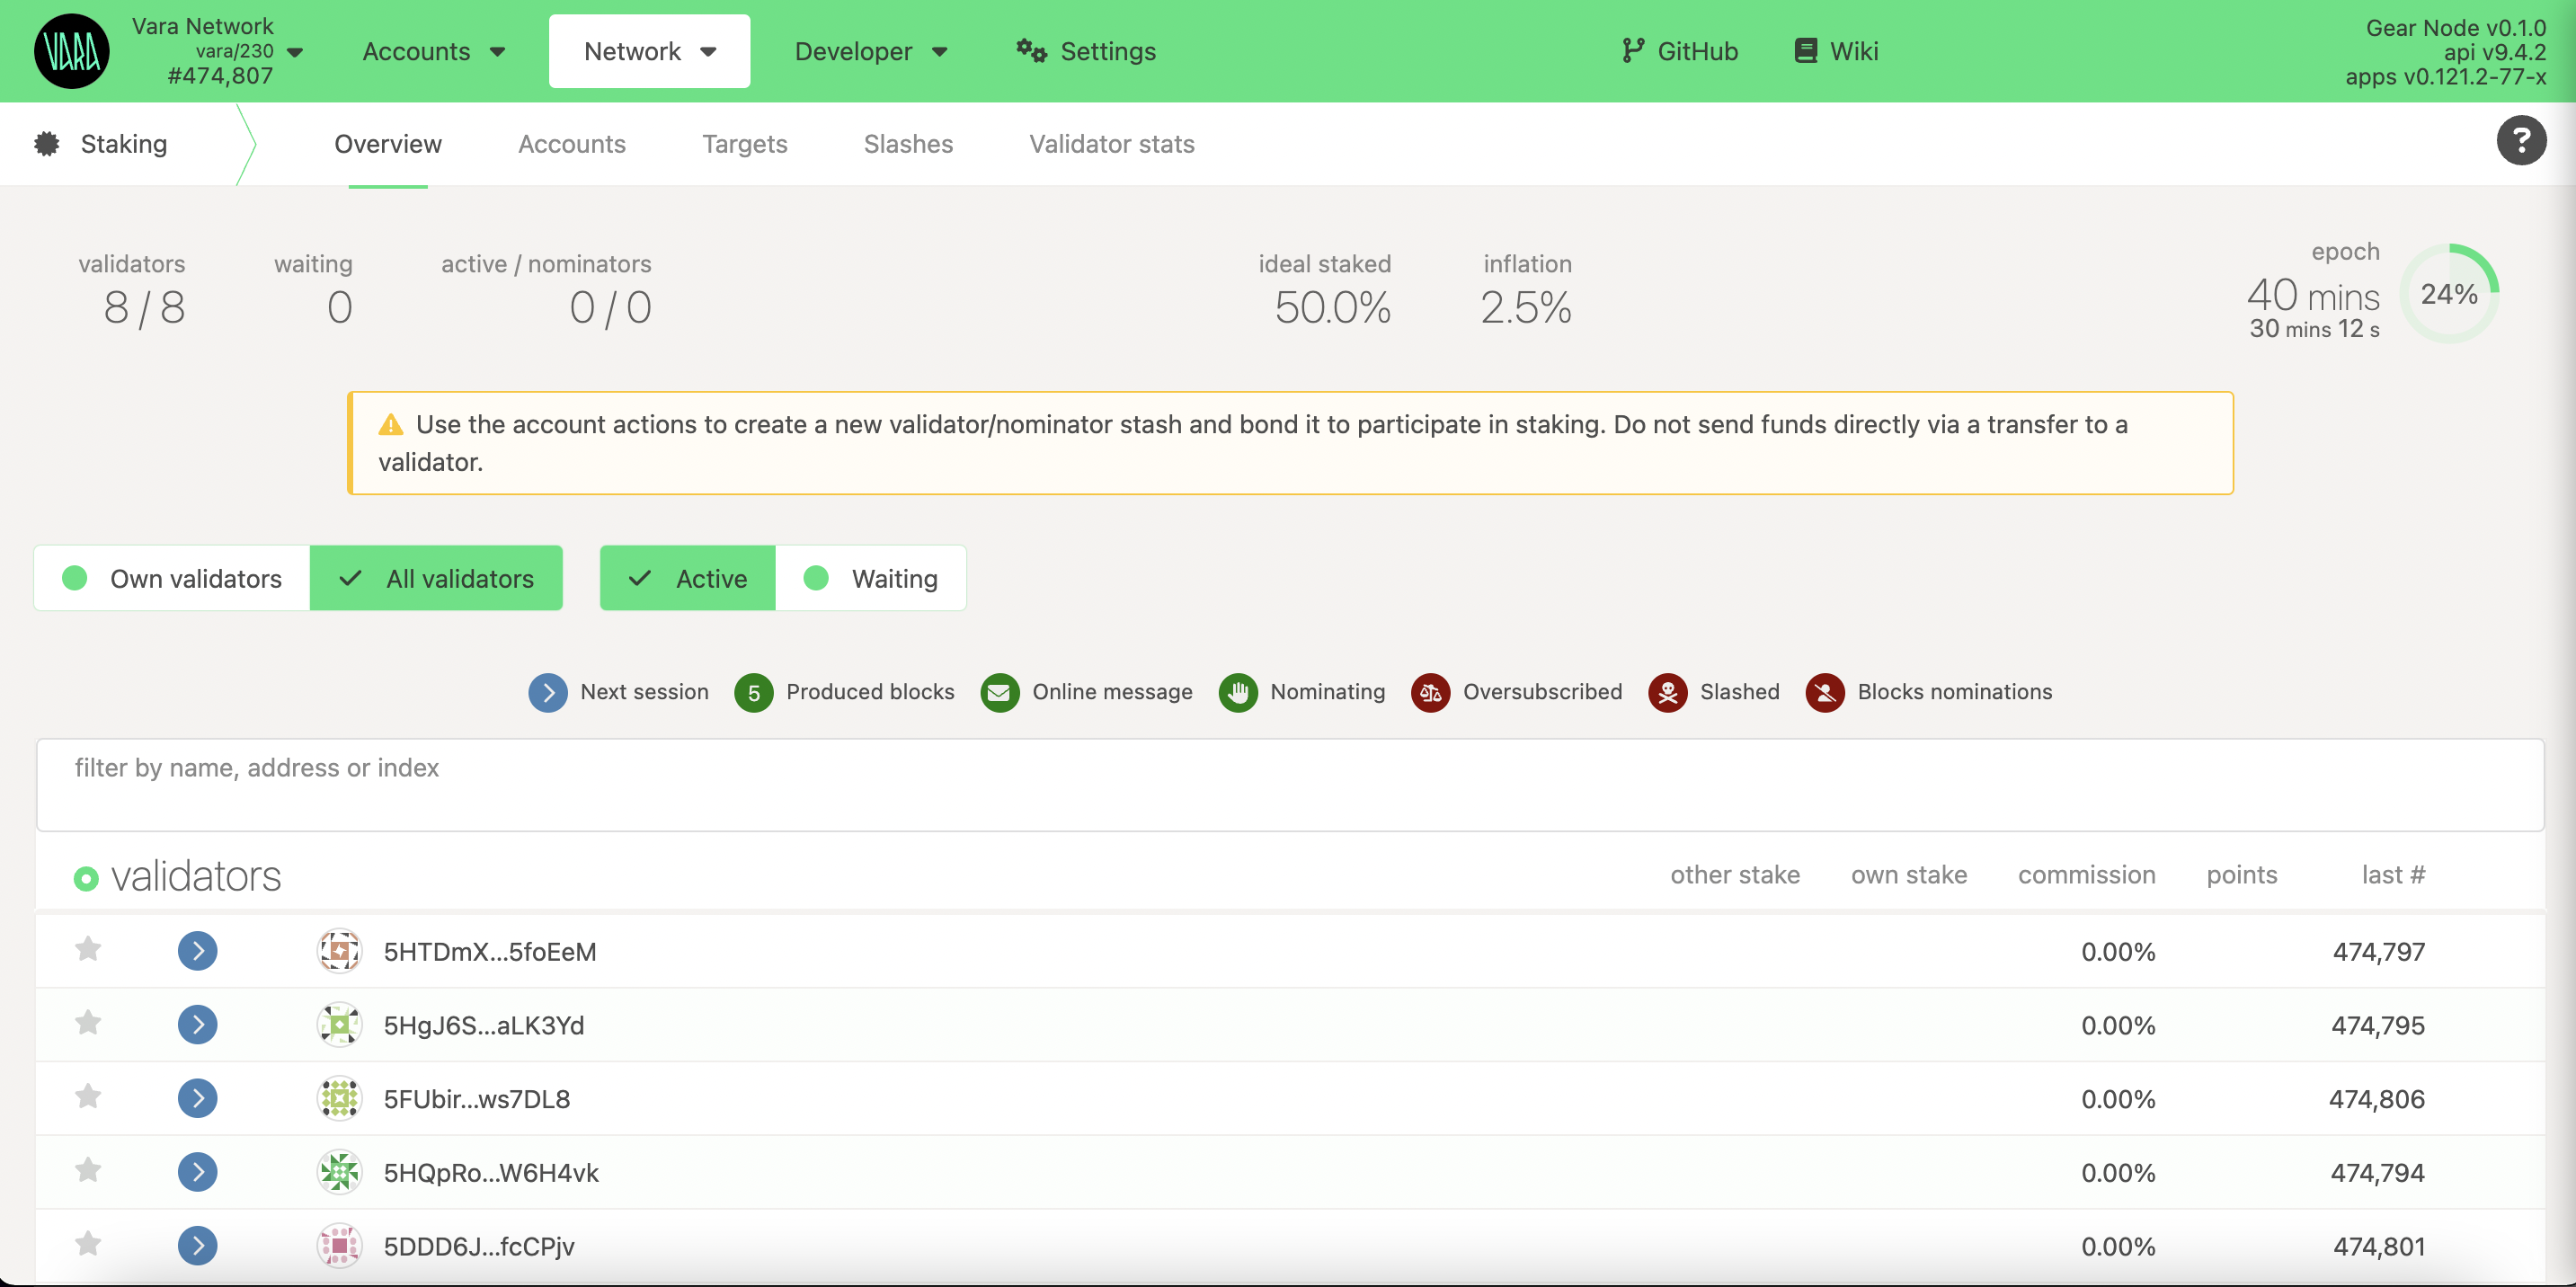
Sign the transaction. Ensure you're added to the stash account and wait for the next Era to start. Once it begins, the network will add your validator.
Update Validator
Regularly updating your validator is critical for keeping up with current maintenance requirements.
The fastest and simplest way to update the validator:
- Download the latest binary version
- Swap binaries
- Restart your service
sudo systemctl start vara-node.service
👏👏👏 Congratulations! You’ve successfully set up your validator node. 👏👏👏 If you encounter challenges or need help — reach out in the Validators Chat!